Viz Multichannel
Version 4.1 | Published May 27, 2019 ©
Working with Channel Settings
This section and its sub-sections explain how to configure a channel. It will give you an ordered overview of the different configuration topics that will help you configure the system more quickly.
The following sections contain information on how to add, remove, export or import channel settings:
Creating a Channel

Create a new channel by pressing the New icon and give the channel a name in the dialog.
To Add a New Channel
-
Open the Settings > Channel Settings window
-
Select New
You are prompted to enter the new channel’s name. -
Enter the channel name without spaces (a-z, A-Z, 0-9), and click OK.
-
Proceed to configure the Channel Settings.
Removing a Channel
To Remove a Channel

-
Open the Settings window.
-
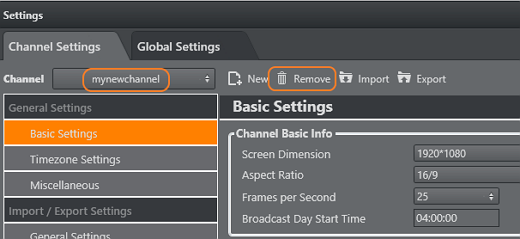
From the Channels combo box, select the channel you wish to remove.
-
Select Remove
You are asked if you are sure you want to remove the selected channel. -
Click Yes.
The last removed channel is automatically saved to a <ChannelName>.bkp file, which can later be re-imported back into Viz Multichannel. The file is located in the backup channel folder found in the Viz Multichannel program folder.
Exporting a Channel
To Export a Channel as an XML File

-
Open the Settings window.
-
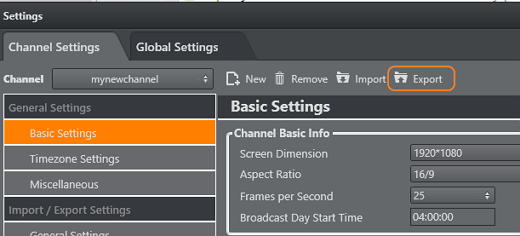
From the Channels combo box, select the channel you wish to export.
-
Select Export.
You are asked if you want to include the playlists and templates along with the selected channel’s settings. -
Click Yes or No, as required.
-
Enter a file name and click Save.
Importing a Channel
To Import a Channel from an XML File

-
Open the Settings window.
-
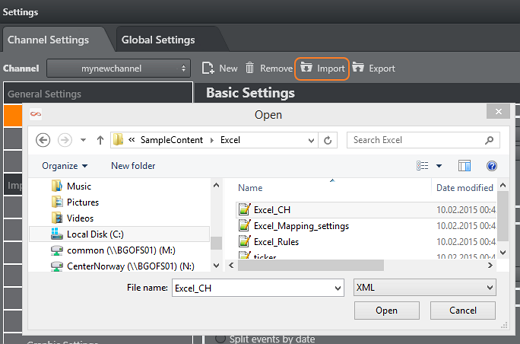
Select Import.
-
Select the XML file and click Open.
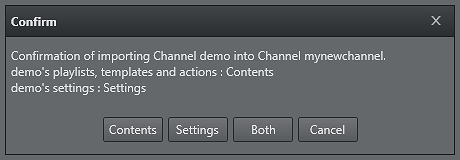
You are prompted to confirm what parameters to override.
-
Select one of the following:
-
Contents
-
Settings
-
Both
-
Note: If the imported channel uses the same path to the Viz Graphic Hub as the original, you will be prompted to confirm the overwrite of templates.
See Also