Viz Artist User Guide
Version 5.1 | Published October 31, 2023 ©
Screen Space Reflection
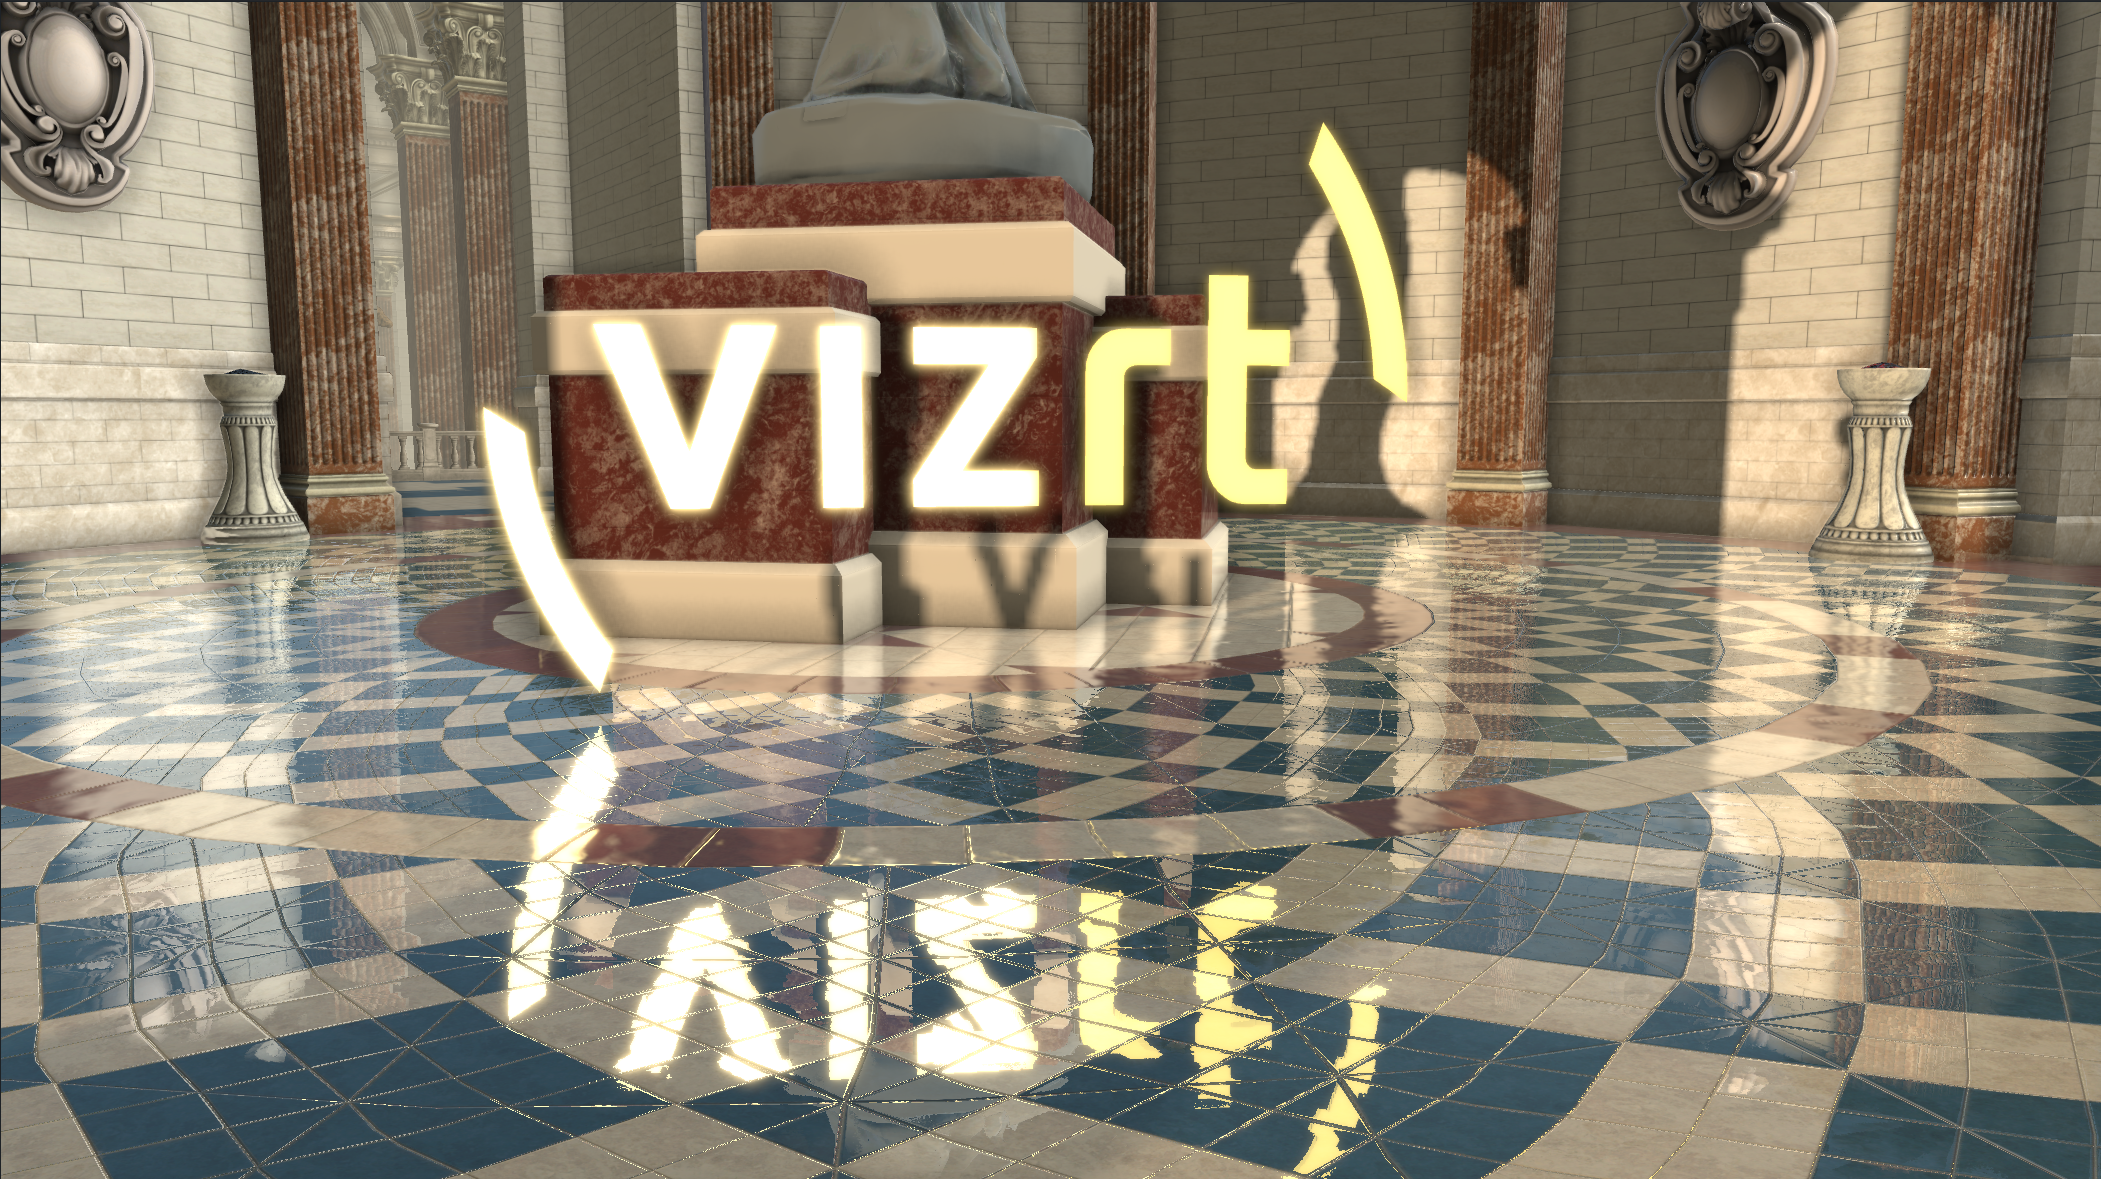
Screen space reflection (SSR) is a technique where image data of the rendered scene is reused to calculate reflections. It is widely used to create subtle reflections for floors or wet surfaces. As it only operates in screen space, it also has the limitation that it can only reflect geometries which are visible. Therefore, it is not possible to create reflections for geometries outside the screen or back-facing surfaces. Further, only geometries which write to the depth buffer are visible in reflections. SSR is computationally heavy, but can lead to good results when the scene design keeps account of its limitations.
Usage
Reflections can be enabled for any container with a PBR or Phong material. Just set the Reflective option to On. SSR can be configured directly in the Scene > Rendering settings. Enabling post-processing is required to see the effect in the Scene Editor.
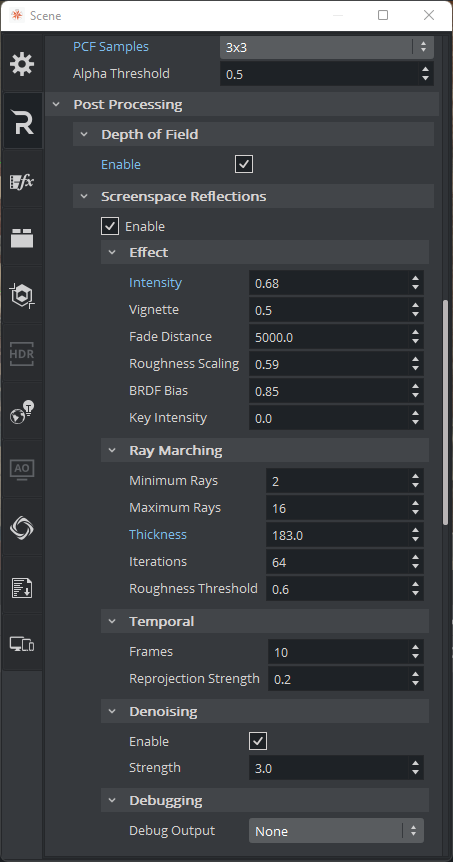
SSR Parameters
Effect
-
Intensity: Controls the reflections strength.
-
Vignette: Reflections near screen border are faded out.
-
Fade Distance: Fades out far reflections.
-
Roughness Scaling: Scales global roughness (used for reflections).
-
BRDF Bias: Controls how glossy reflections are scattered (higher values give mirror like reflections).
-
Key Intensity: Controls the resulting key of the reflections.
Ray Marching
-
Minimum Rays: Determines the number of rays used for smooth surfaces.
-
Maximum Rays: Determines the number of rays used for rough surfaces.
-
Thickness: Adds additional thickness for thin geometries which could be missed without it.
-
Iterations: Determines the number of iterations to find an intersection.
-
Roughness Threshold: Do not trace rays for surfaces which are very rough.
Temporal
-
Frames: Determines the number of frames used to accumulate reflections (higher values can cause ghosting for moving objects/camera).
-
Re-projection Strength: Controls how strong the rays are re projected for moving objects.
Denoising
-
Enable: Enables reflection denoiser.
-
Strengh: Sets denoise strength.
Debugging
-
Debuging Output
-
None: Disables debug output.
-
Reflections: Shows reflections only.
-
Mask: Shows which objects are reflective.
-
Miss: Shows where reflections with no hit.
-
Layer: Shows objects with used for multilayer tracing.
-
Normals: Shows scene normals used for tracing.
-
Depth: Shows scene depth used for tracing.
-
Multi-Layer SSR
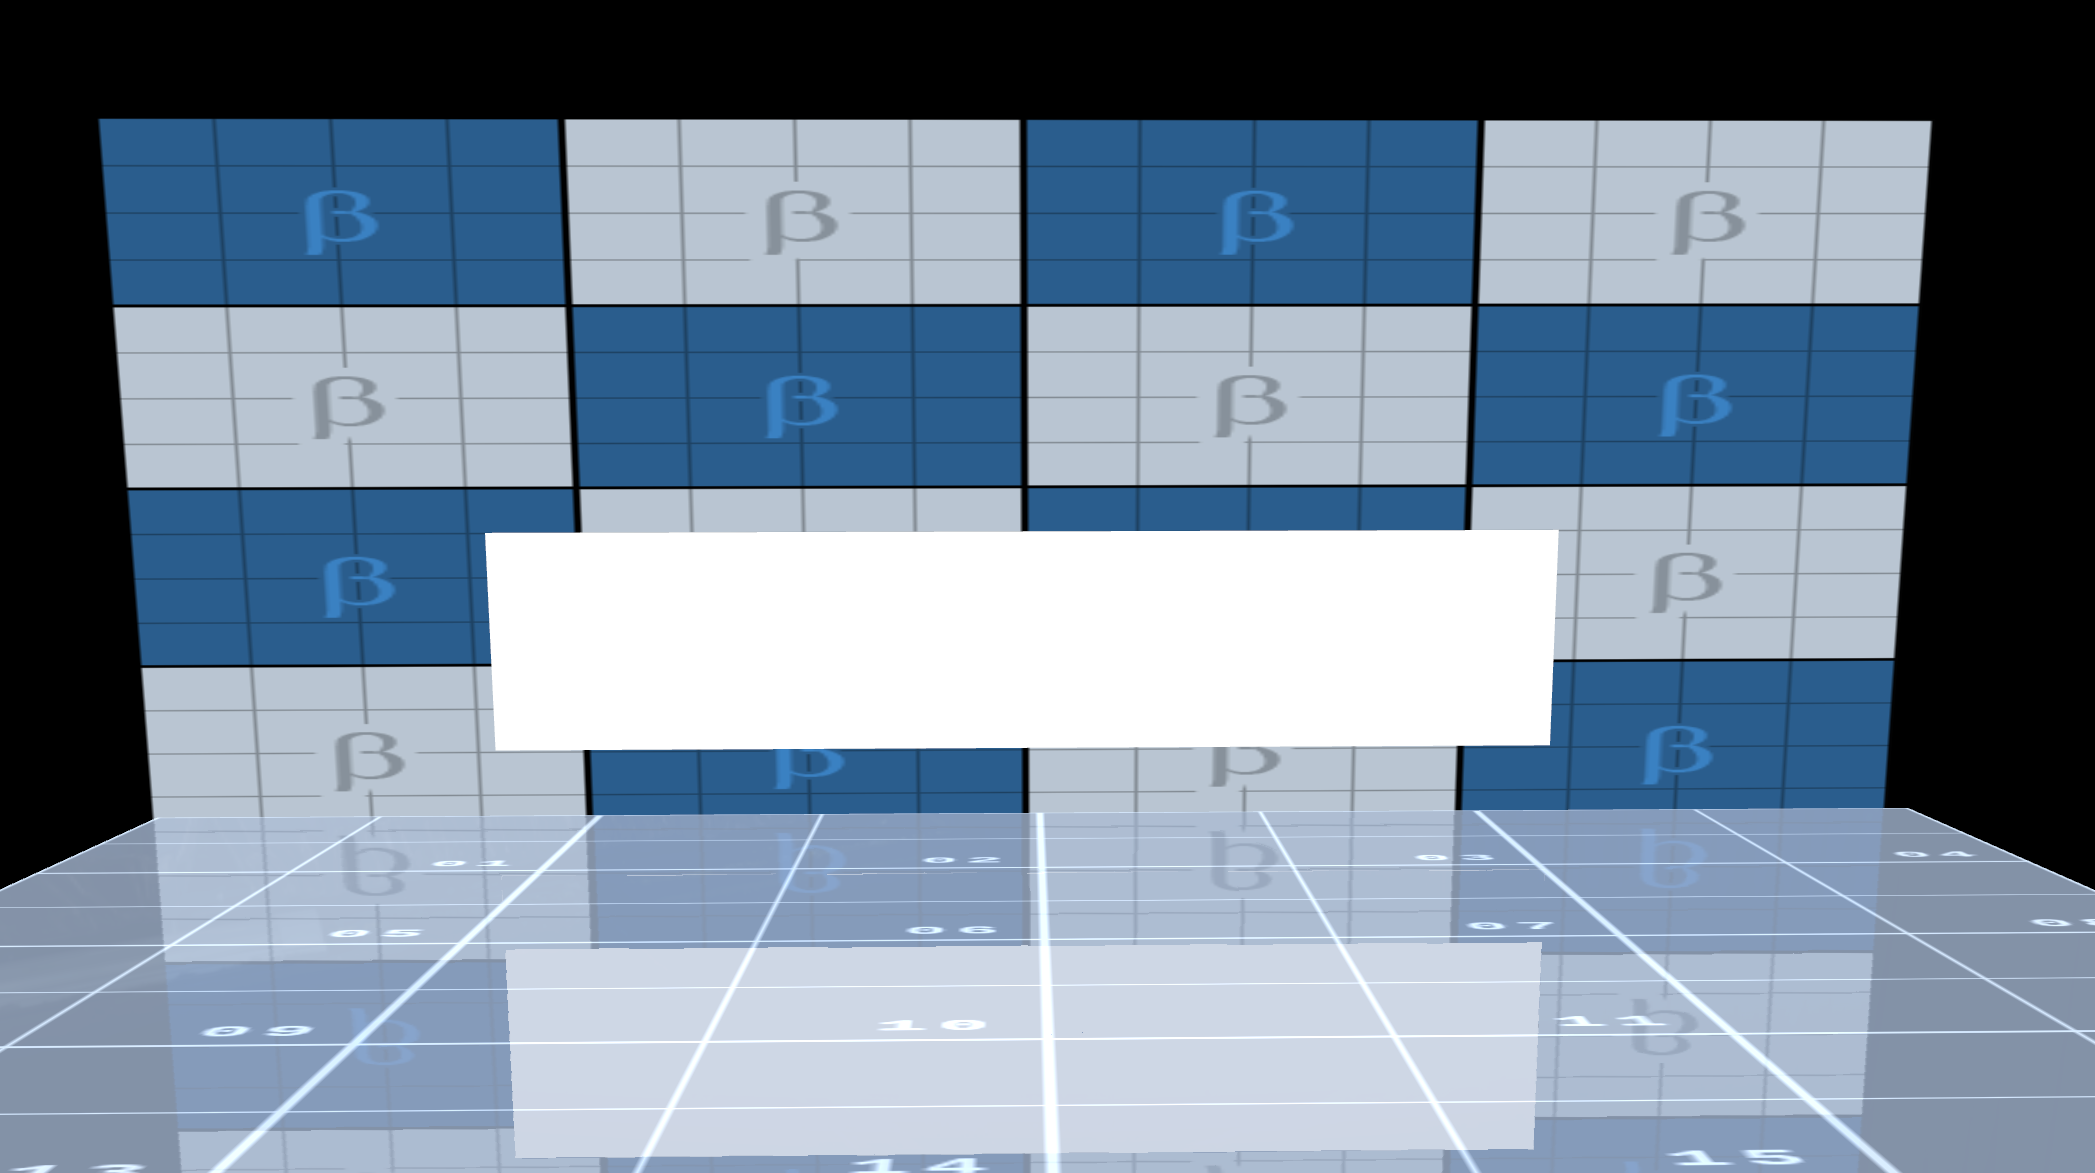
The main limitation of SSR is that it can only reflect objects which are visible. Objects in the foreground can prevent reflecting objects which are visually blocked.
The Layer-Plugin can be used to render specific objects in a way that they do not block reflections behind them. Carefully decide which objects need to be drawn in foreground for SSR as it can impact performance.
|
Multi-Layer OFF |
Multi-Layer On |
|
|
|
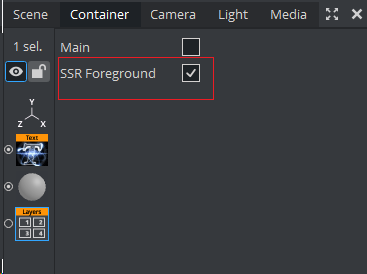
In the example above, the wall can not be completely reflected on the floor as the Text Geometry is hiding parts of it. To get rid of this limitation, add the Layers plug-in to the text geometry and set it to be SSR Foreground. This changes the rendering sequence for the SSR effect.
Usage:
-
Add Layer-Plugin to the container which should be drawn in foreground for SSR.
-
Select SSR Foreground as layer.

Performance/Visual Tweaking
SSR can be quite performance intensive. Make sure to only make objects reflective where reflections are wanted. Reducing Ray Marching > Iterations and Ray Marching > Min/Max Rays can also boost performance.
-
Make sure that the Camera Near/Far is set to cover the minimal range. This results in higher precision in the depth buffer which is important for Ray Marching.
-
Ghosting for moving object and camera flights can be reduced by using lower values for Temporal > Frames.
-
If the reflections are not strong enough try to increase Effect > Intensity or reduce the Effect > Roughness Scale.
-
If black lines artifacts can be caused by to low Ray Marching > Thickness.
Troubleshooting
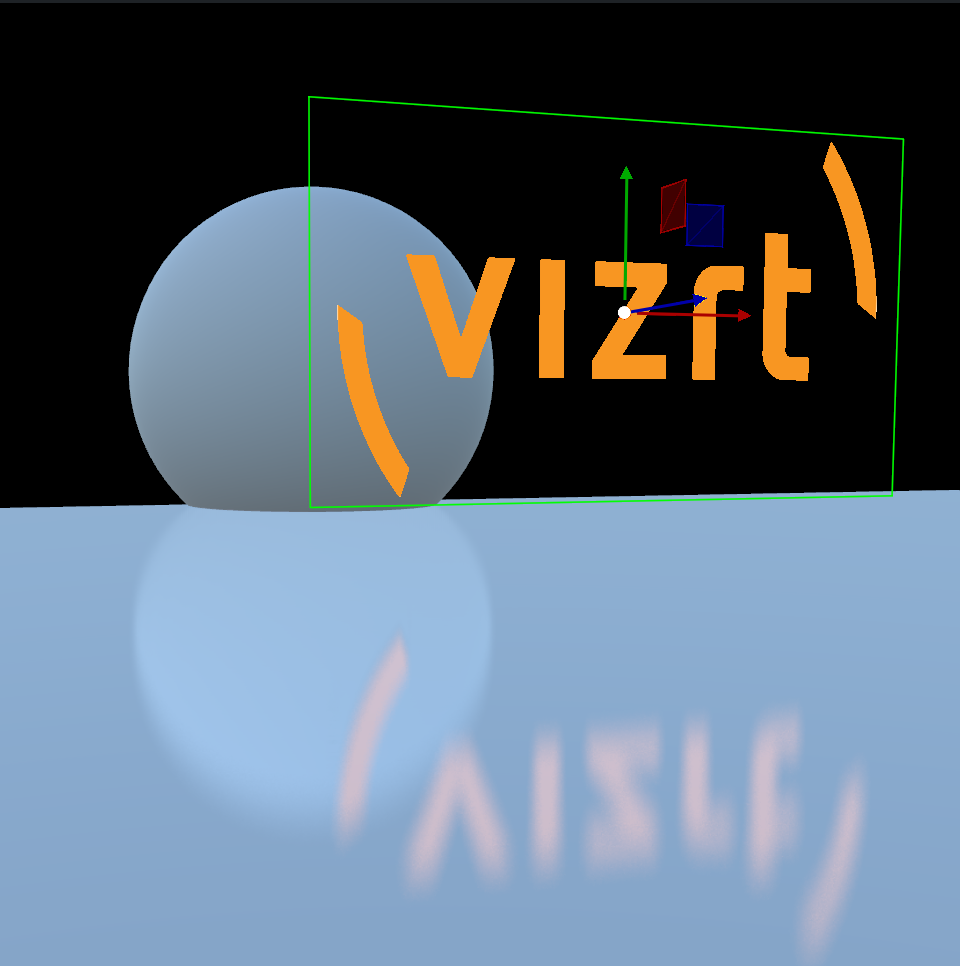
SSR requires a depth buffer to work correctly. This however, has some side effects when transparent images are in use, they produce unwanted artifacts in all transparent areas.
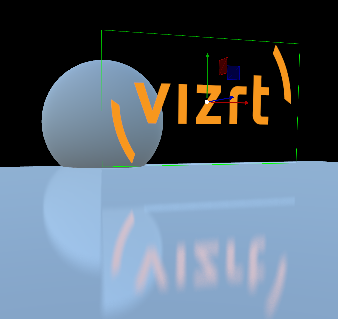
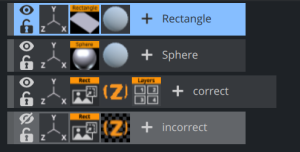
To fix this, we need to use the layers plug-in as described above and get rid of the alpha information to disable the depth write. This can be done by using a custom fragment shader.
@registerParametersBegin@registerParameterSampler2D(iChannel0, "Texture0")@registerParameterFloat(alphaThreshold, "Alpha-Discard", 0.1f, 0.f, 1.f)@registerParametersEndvec4 toLinear(vec4 sRGB){bvec4 cutoff = lessThan(sRGB, vec4(0.04045));vec4 higher = pow((sRGB + vec4(0.055))/vec4(1.055), vec4(2.4));vec4 lower = sRGB/vec4(12.92);return mix(higher, lower, cutoff);}void fragmentMain(){vec4 fragColor = texture(iChannel0, viz_getTexCoord());if(fragColor.a < userParametersFS.alphaThreshold)discard;viz_setFragment(toLinear(fragColor));}Using this shader as the material gives the following result:
