Viz Now LaunchPad
Version 1.2 | Published April 09, 2024 ©
Control Surfaces for TriCaster Now
For some setups, a Control Surface is accessed with an Ethernet connection, rather than traditional USB hardware.
This scenario requires the Viz Remote Control Surface Utility application, for pairing a control surface with an ethernet connection running on-premise, to a TriCaster Now instance.
Working with Viz Remote Surfaces
TriCaster Now Control Panel Compatibility
The Flex Control Panel is the recommended solution for TriCaster Now systems. Flex uses NDI Bridge for remote connection.
All other panels require the use of the Viz Remote Control Surface Utility for connection.
|
|
Media Type |
Remote Connection |
TriCaster Now 8 by 2 System |
TriCaster Now 16 by 4 System |
|
Flex Control Panel |
Ethernet |
NDI® Bridge |
Yes |
Yes |
|
2-Stripe Control Panel |
Ethernet |
Viz Remote Surface Configuration |
|
Yes |
|
4-Stripe Control Panel |
Ethernet |
Viz Remote Surface Configuration |
|
Yes |
|
Mini Control Panel |
USB |
Viz Remote Surface Configuration |
Yes |
Yes |
|
TC1SP Control Panel |
USB |
Viz Remote Surface Configuration |
Yes |
Yes |
Viz Remote Control Surface Utility
Follow the procedures in this section to download, install and set up the app.
To install the Viz Remote Control Surface Utility app
-
Navigate to the Vizrt TriCaster® Family Product and maintenance updates page.
-
Scroll down to the panel TriCaster® Now Resources
-
Click on the text Viz Remote Control Surface Utility Application to download the installation file Viz Remote Surface Configuration.exe.
-
In the on-premises client, run the downloaded installer, using all default installation settings.
Note: The on-premises client must be in the same subnet as the Control Surface Panel connection.
To connect the Control Surface Panel to TriCaster Now
-
Open a session in TriCaster.
-
Close the Remote Surface Configuration app.
-
Close the NICE DCV client.
-
Power up the Control Surface Panel.
-
As Administrator, run the Remote Surface Configuration app.

-
Wait till ID:1 appears in the Control Surface Panel.
-
In the Remote Surface Configuration setup panel, select the Control Surfaces tab and verify that the device is detected:

-
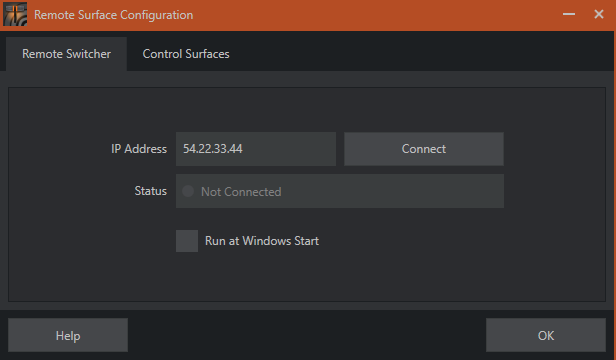
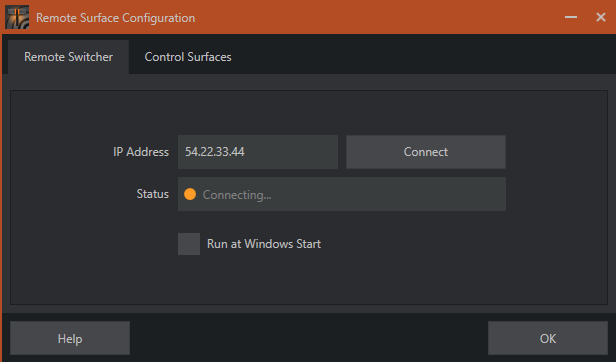
Select the Remote Switcher tab, enter the TriCaster Public IP and click Connect.
