
Viz Now Administrator Guide
Version 1.2 | Published April 09, 2024 ©
Spaces
Spaces
All spaces created in the organization are listed under the Spaces tab. Each space has details such as the title, list of available apps, owner, last edit and status.

-
To find a space, use the search box on the left by typing the name of the space title or its owner.
-
Use the Filter menu to filter the search results by status.
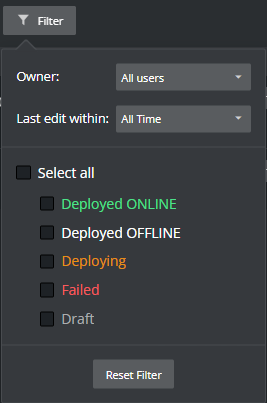
Space Status
The space status is displayed together with an icon.
|
Icon |
Status |
|
|
Deployed Online Space. |
|
|
Deployed Offline Space. |
|
|
Validating (Space is deploying). |
|
|
Validating failed or Deployment failed. |
|
|
A draft space. |
Managing a New Space
Only Users with the editor and/or admin roles (assigned by the admin) are allowed to create and deploy new space templates.
To Create a New Space Template
-
On the Space tab, click on the + New Space button to the right.

A list of all available Templates is displayed. Each template belongs to a different package (Essential or Premium) and has a set of Vizrt products.Note: The list of templates may vary between Organizations. Some templates are only available for certain organizations.
-
Click on the template you want to deploy or search for it by typing the template name in the Search box on the right.
-
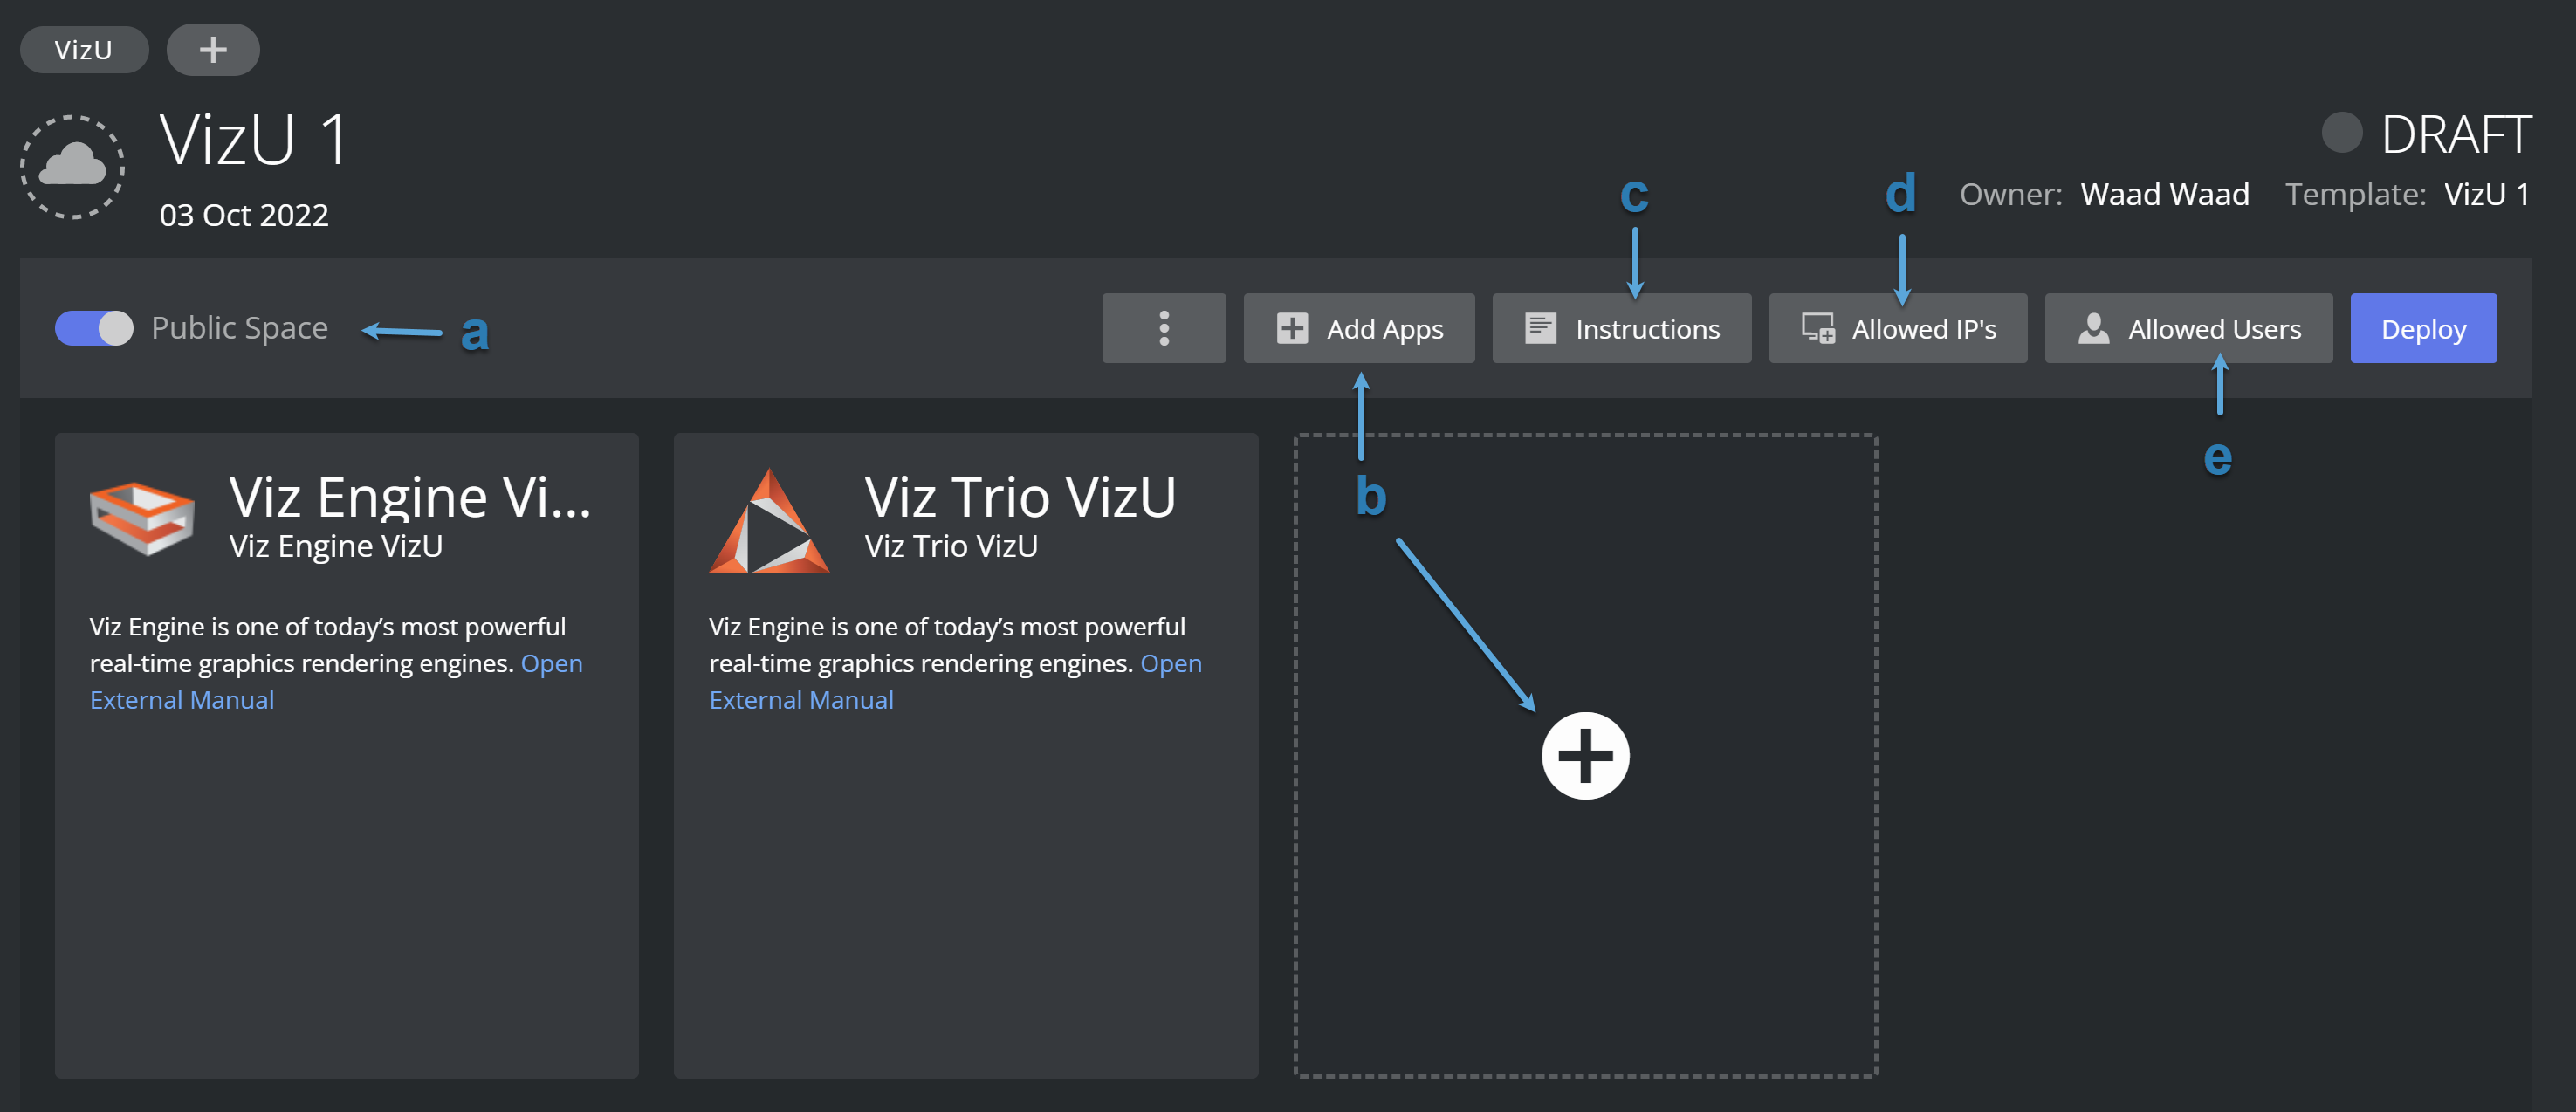
Update Space options as required:
-
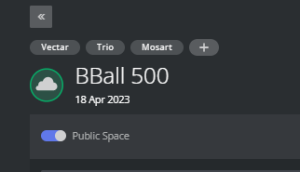
Space visibility: You can make the space template public (visible to all in the organization) by turning on the Public Space toggle under the template's name (Default off - only visible to assigned users and admin).
-
Add Apps: You can add more apps to the predefined apps in the template by either clicking the + sign on the apps list or by clicking the + Add apps button.
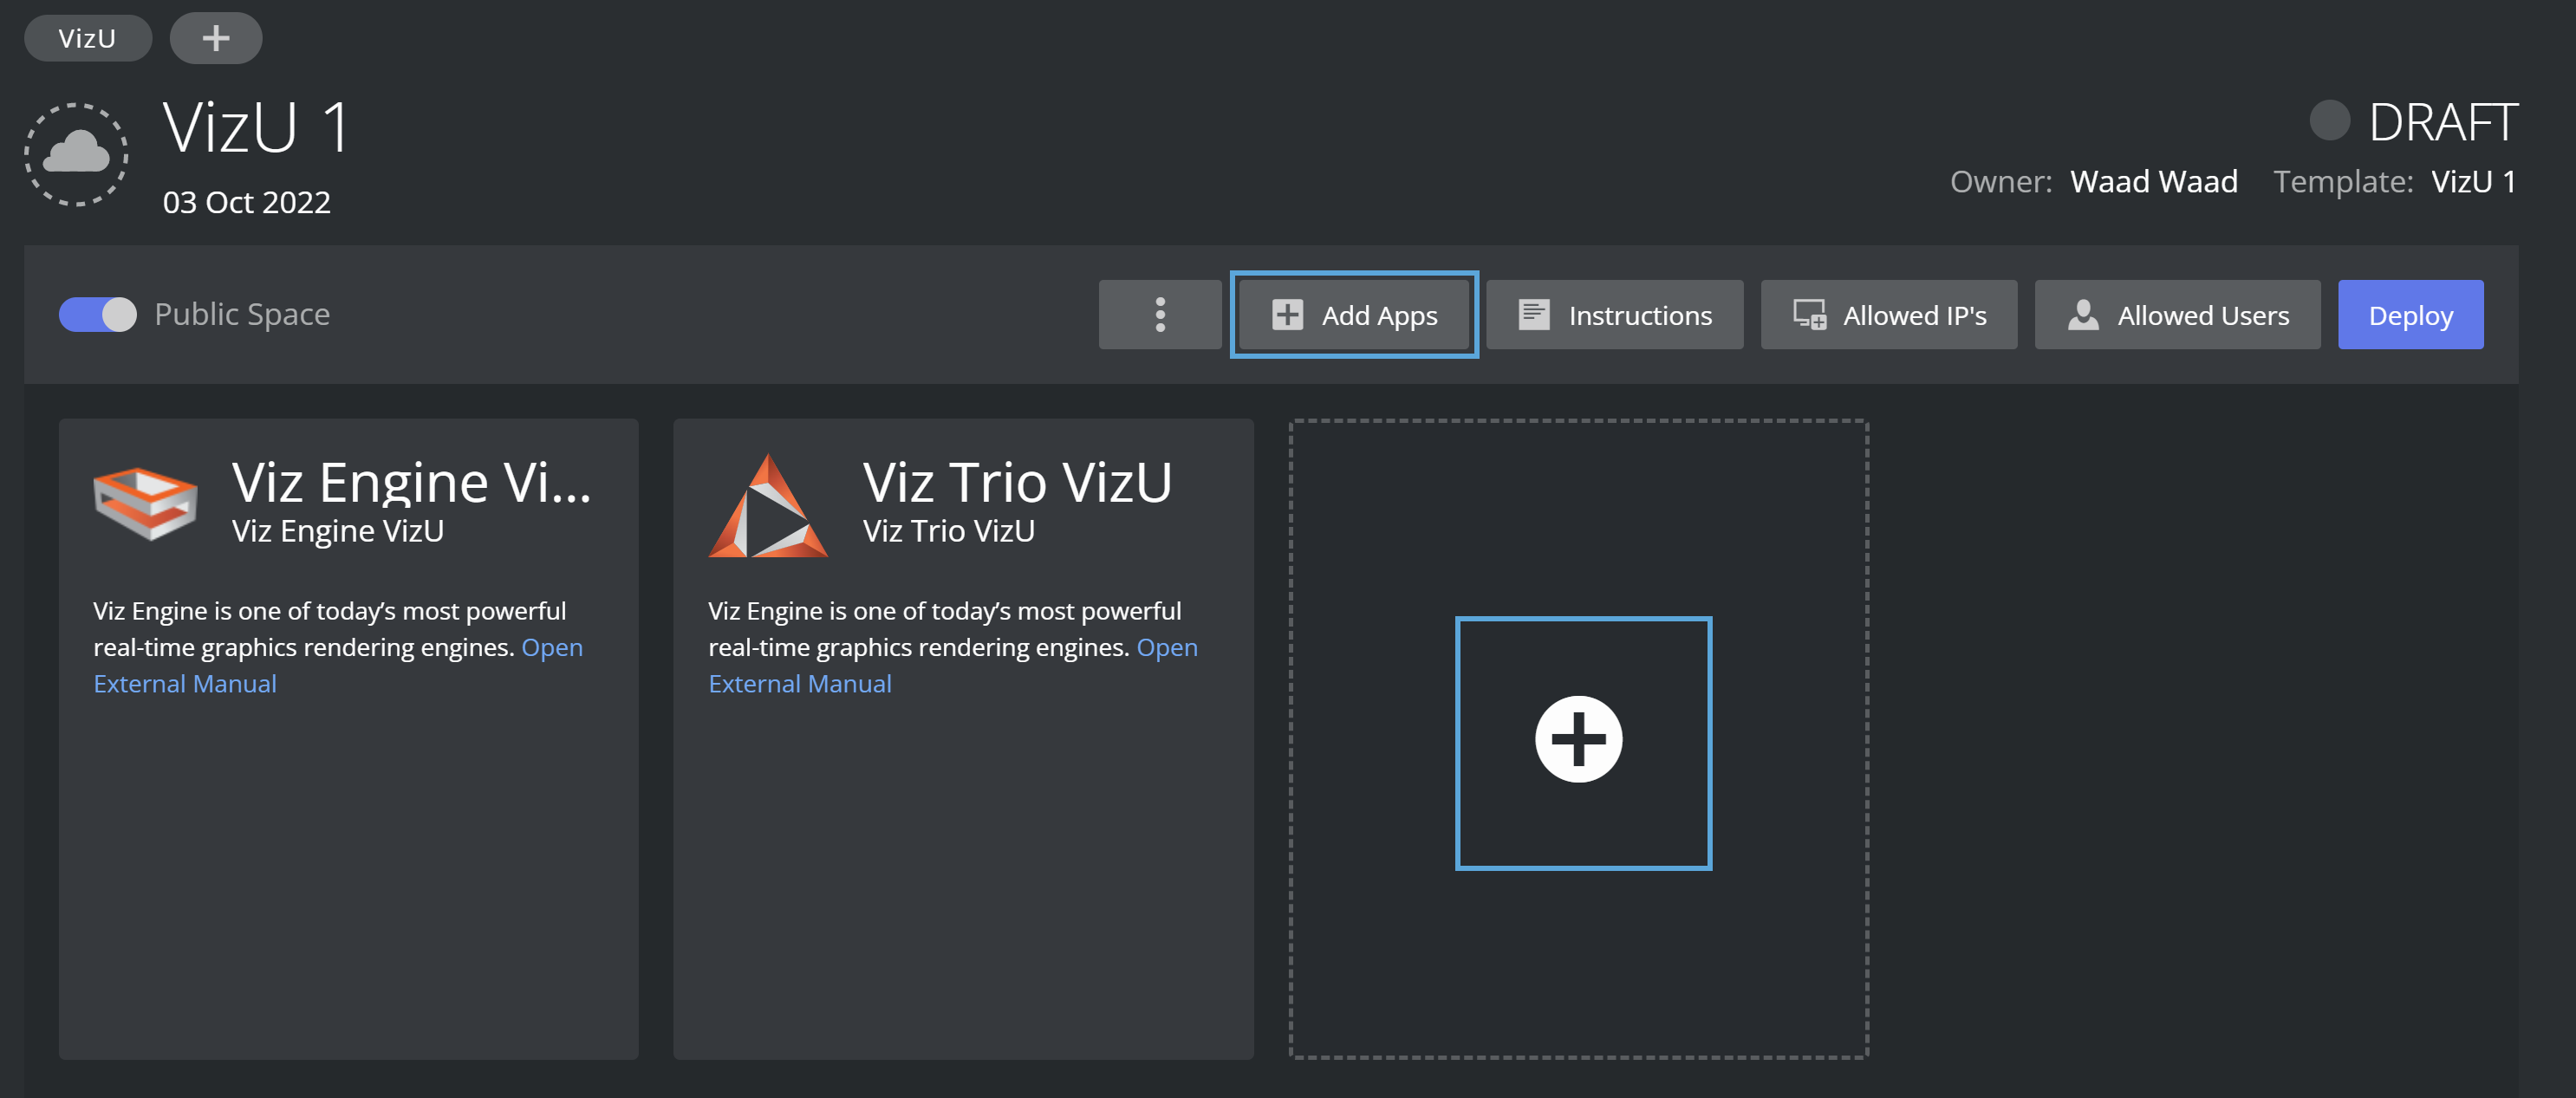
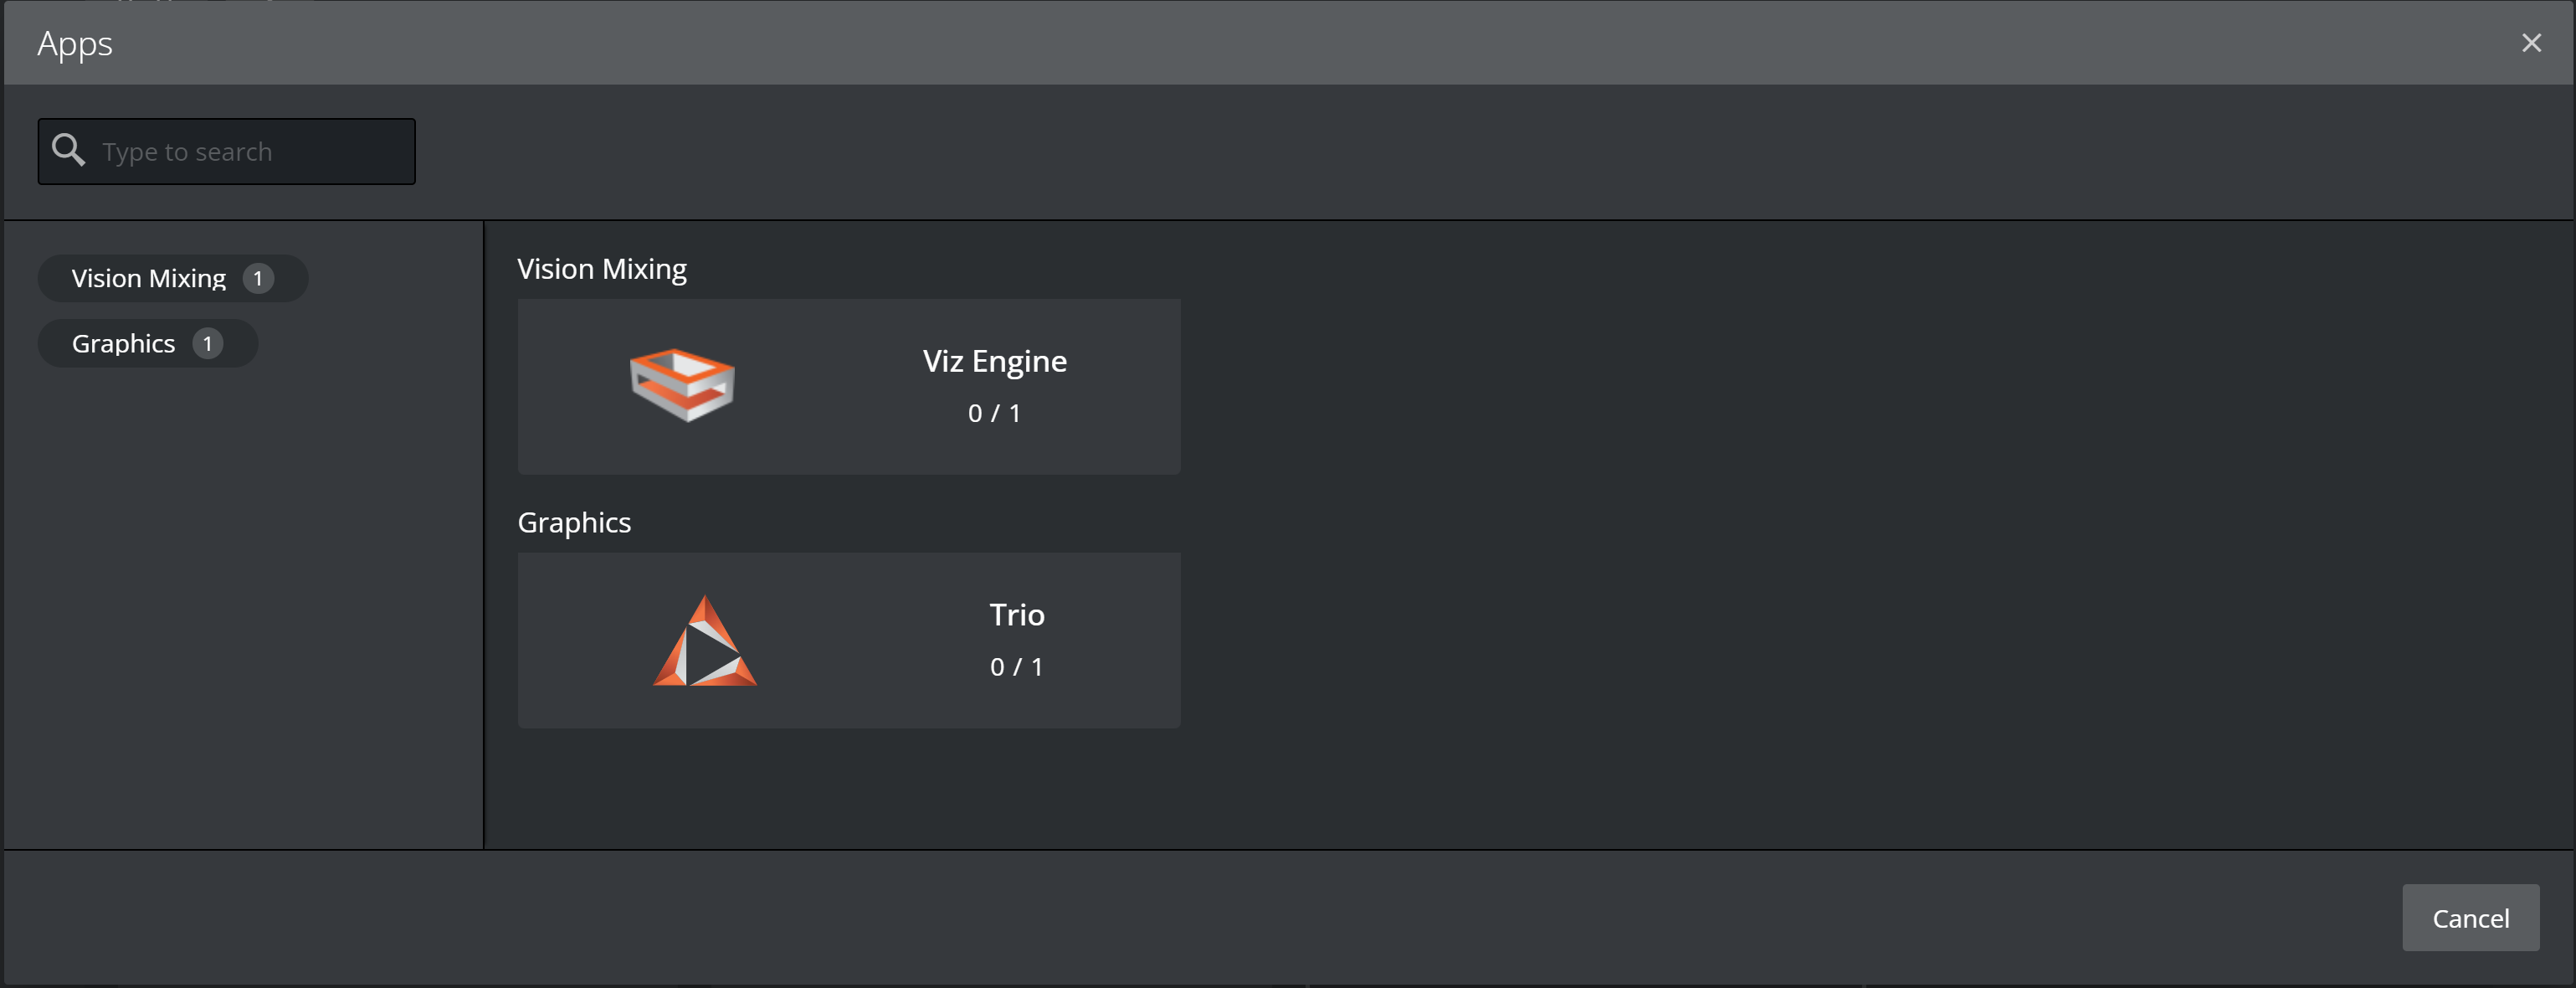
This opens a window to choose the App to be added. You can use the Search box to find Apps.
-
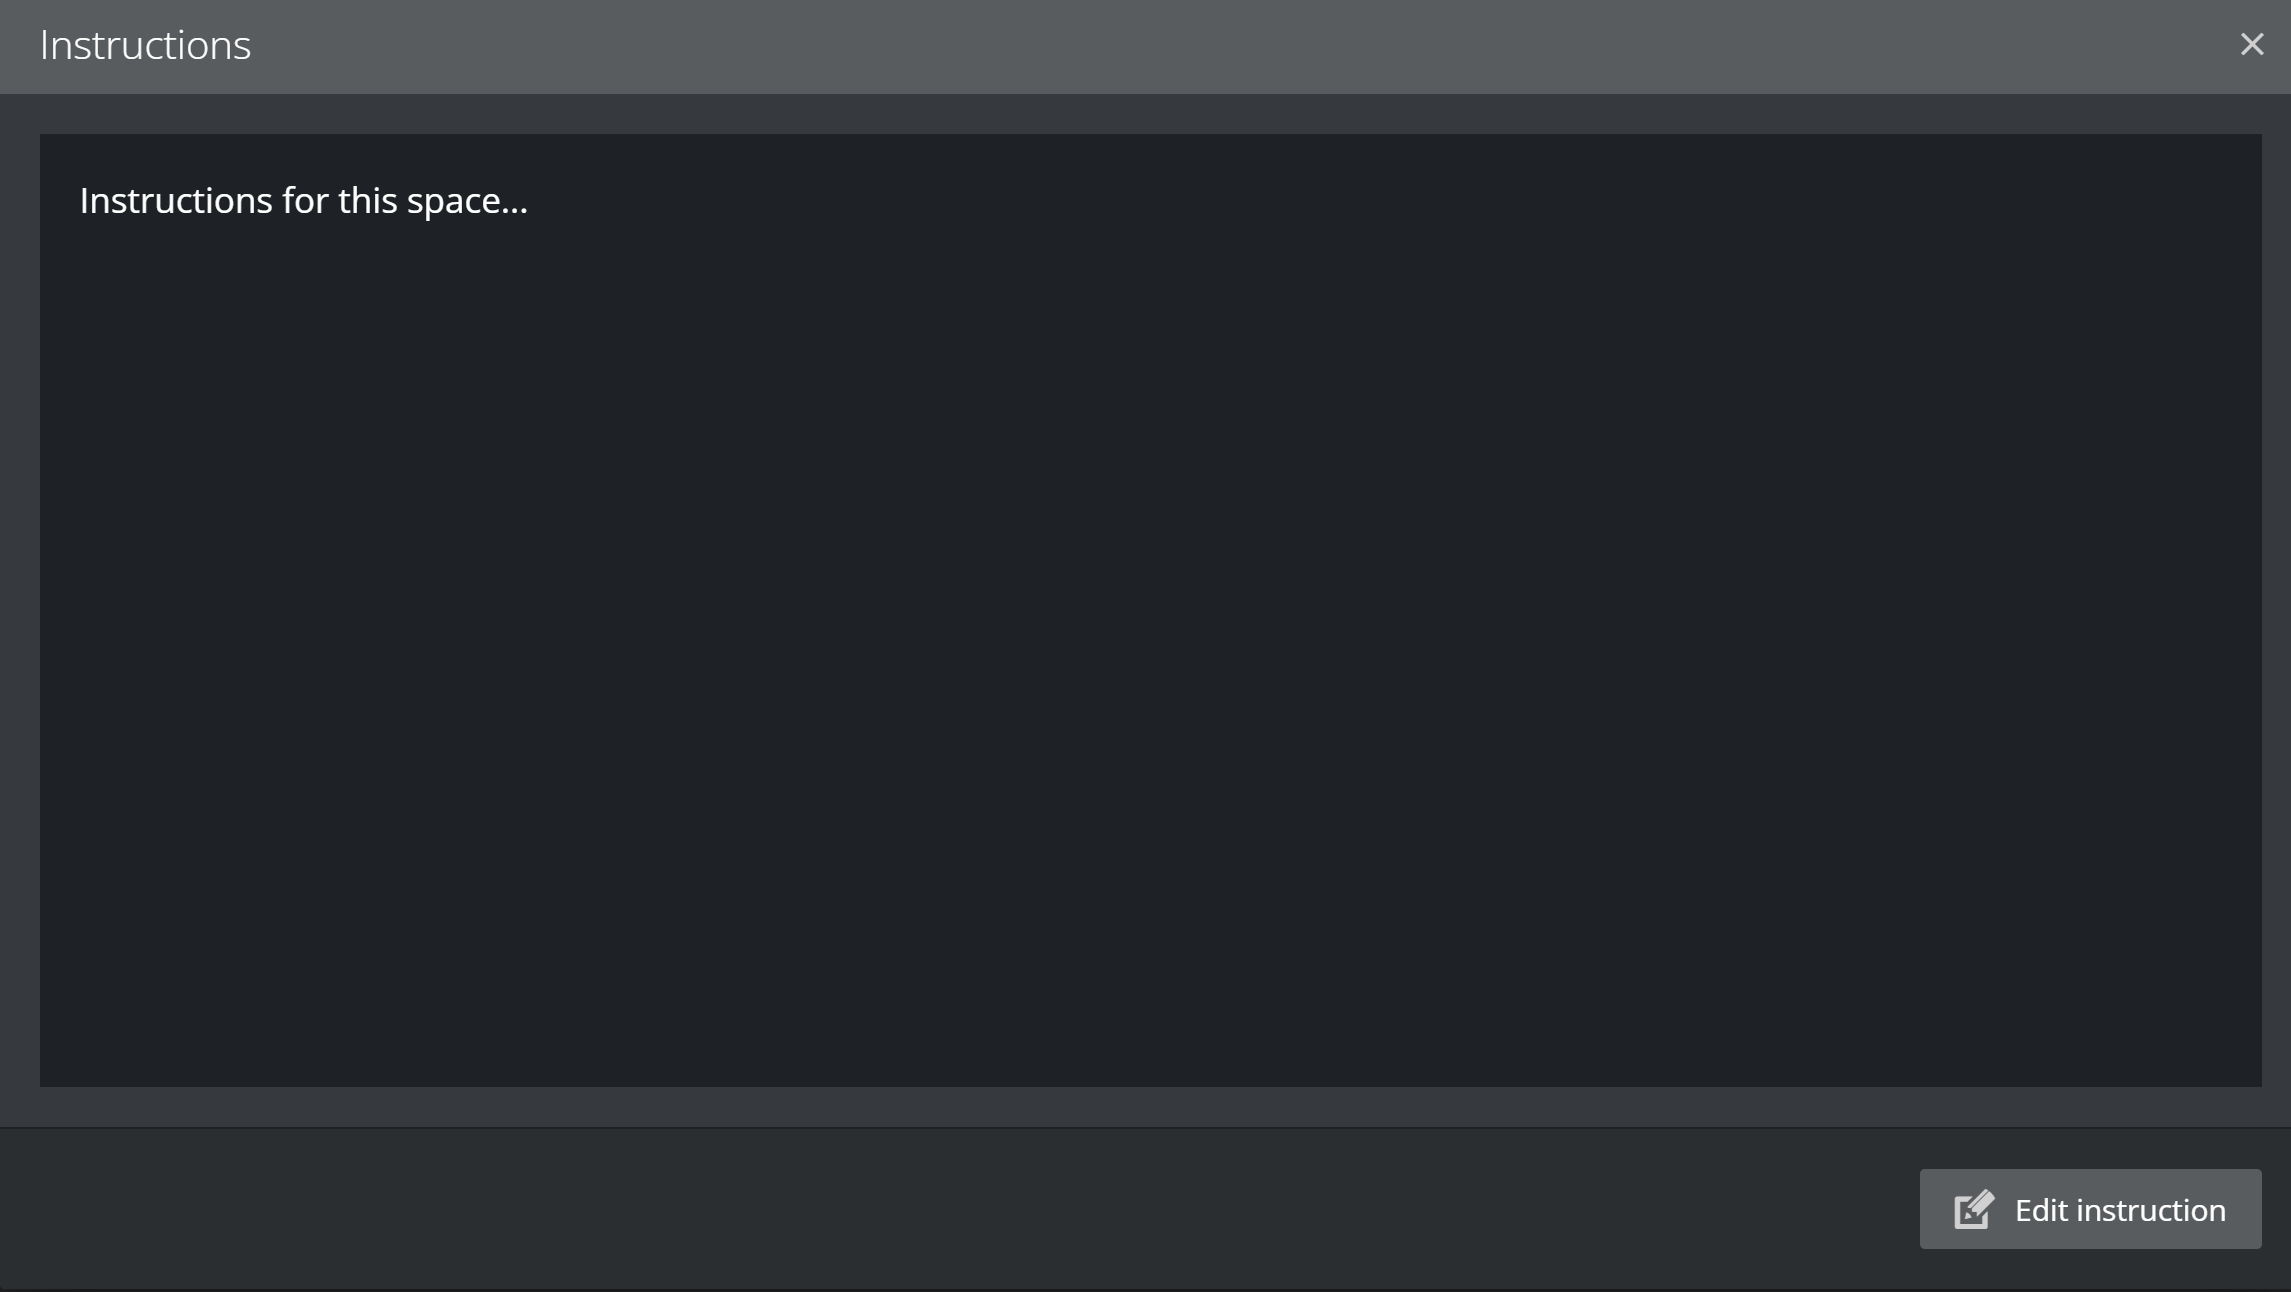
Instructions: Edit instructions for the space users to see.
-
Allowed IP's: You can a list of allowed IPs to access this space. You can remove an IP from the list by clicking the Trash can icon.

Note: Your IP is automatically added when you click the Download or Open button (to access any App within the Space).
-
Allowed Users: Add users from the organization to access and use the space. Click on the dropdown list of users to add a new user

To remove a user click the Trash can icon. -
Public Space: Click the switch to toggle between sharing the Space with anyone within the organization, or restricting access to only Admin, Owner and assigned Users.
-
Deploying a Space
To Deploy a Space
-
To start deploying the Space to your AWS Account, click Deploy.
Note: This action cannot be canceled and takes approximately 10 minutes.
Deleting Apps and Resources
To Delete Apps and Resources
-
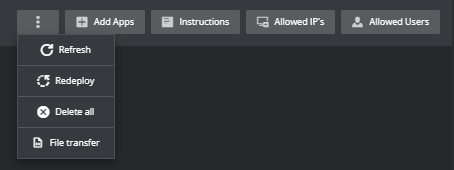
To delete all the Apps and deployed resources, select Delete All from the menu.
Note: This action is irreversible and permanently removes all resources associated with the Apps.
-
Click Refresh to ensure the Space is in sync with the current status
-
To ensure that all changes have been correctly applied, click Redeploy.
Note: This action cannot be canceled and takes approximately ten minutes.
See Also


