Viz Multiplay User Guide
Version 3.2 | Published March 07, 2024 ©
Working with Filled Presets
Presets describe the layout of the video wall regions (channels) on the video wall.
For Dynamic Walls, Presets with GFX Channels are:
-
Regular graphic elements playing out the DynamicChannel scene, which keeps track of the position of GFX channels.
-
Pages in a show that are not technically tied to one particular video wall configuration in a profile. Since the presets of a show will not be usable for a different video wall setup, presets created in a show should only be used together with one particular profile.
For Video Walls with Superchannels, Presets are:
-
Regular playlist elements with a special master template, naming one preset in the Superchannel scene behind the master template.
-
Each Superchannel video wall is represented by one Viz Artist scene, imported into Viz Multiplay as one master template.
-
The Superchannel scene is imported in a profile.
-
When opening a show and activating a profile, the presets must be imported into the show.
-
The imported presets become invalid if a new profile is activated for the show.
Note: Presets can be filled with content using both workflows.
This section covers the following topics:
Common Workflow
Sample Workflow
-
Create a new group in the shortcuts playlist.
Note: The shortcuts playlist already contains one group called Presets. You will now add an additional group for your pre-filled walls, this group will appear as a tab in the Shortcuts bar.
-
Drag a preset from the Videowall tab to your new group in Shortcuts, or the main channel (usually channel A).
-
Right-click the preset and select Edit.
-
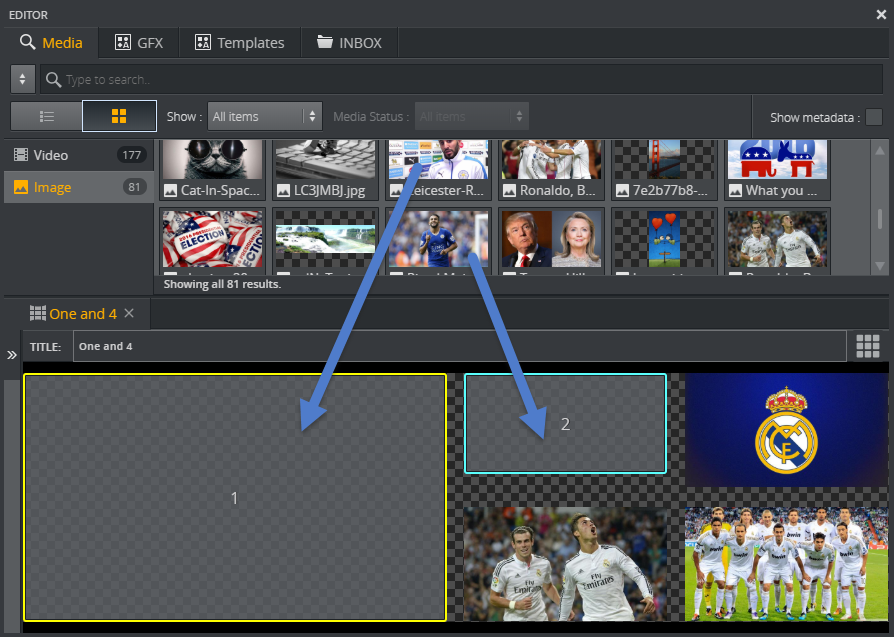
You can drag and drop elements from the different tabs (Media, Live, inboxes, GFX playlist) from the editor to the GFX channels in the video wall.

-
Edit individual elements in a video wall by clicking the play icon, or by right-clicking and selecting Edit or simply double-clicking content in a GFX area.

-
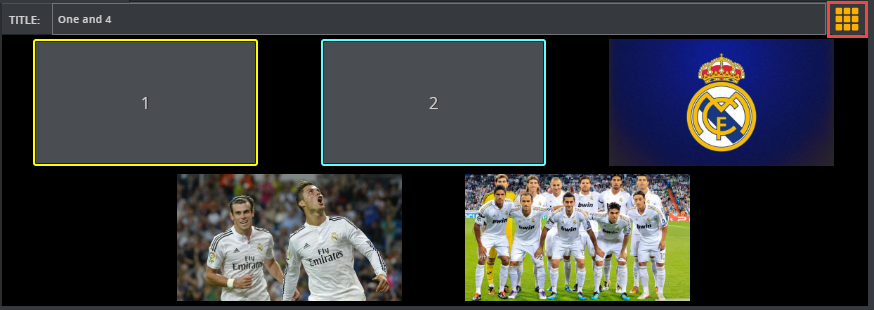
A GFX area may occasionally be outside the editor, or two GFX channels might partly or fully overlap. If this happens, hold SHIFT down to reveal the GFX channel numbers behind the content and click Reveal to show a secondary view where all the GFX channels are stacked out:

-
Once the video wall preset is filled (partly or completely) with elements, you can close the editor.
-
The preset thumbnails in the Walls group in the shortcuts playlist now reflect the content put into the video wall preset.

Tip: It is possible to fill one or more GFX channels in a filled preset. The existing content of the non-filled GFX channels that are on air will then remain on air when a partly-filled preset is played out.
Adapt the GUI for Pre-filled Walls
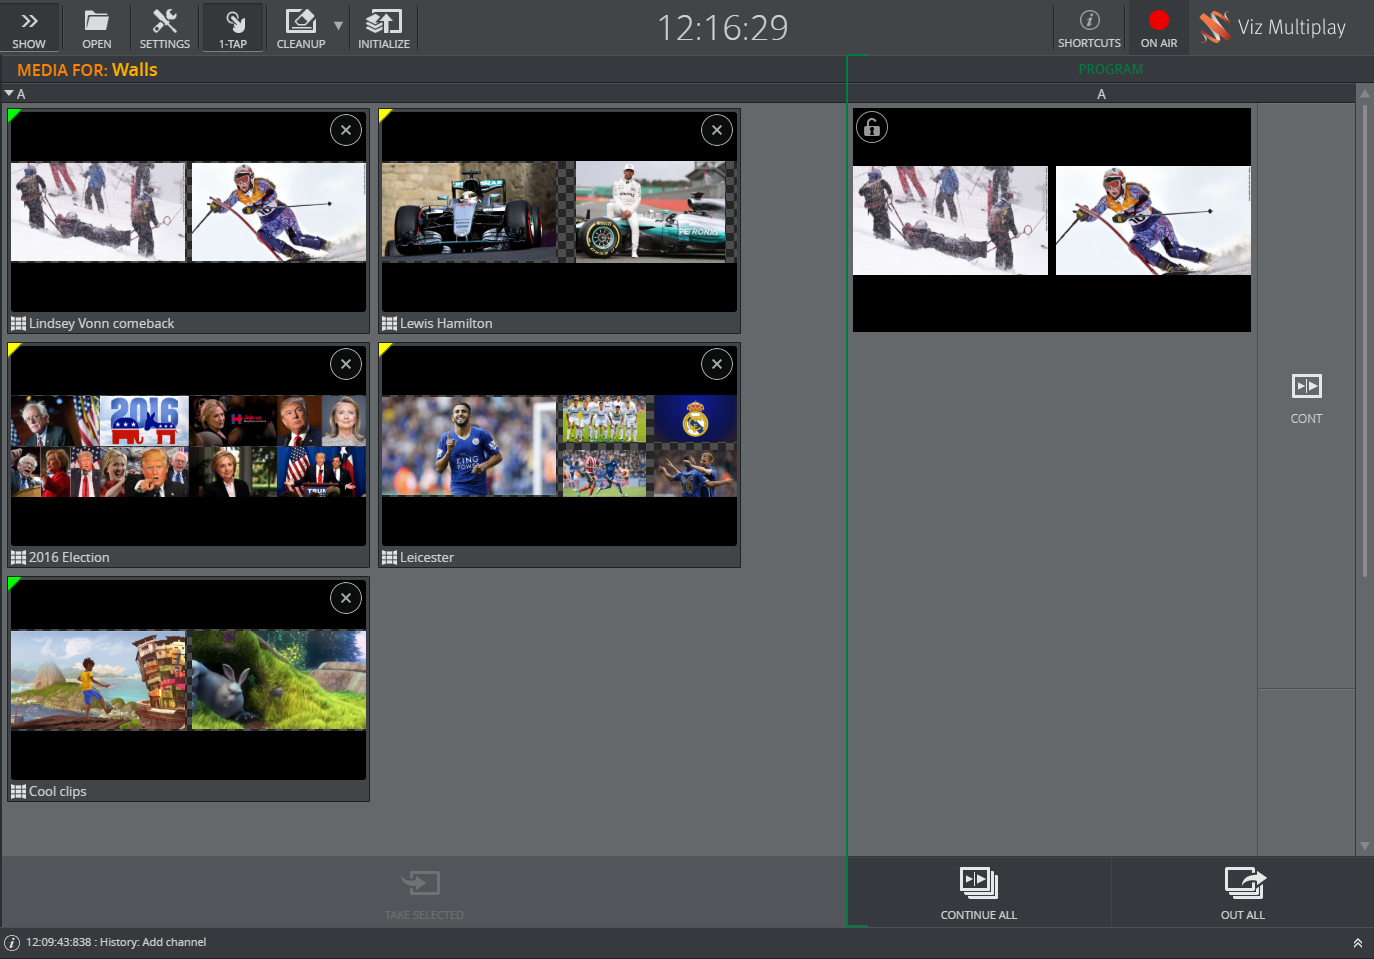
A nice workflow is to create a workspace where you hide all GFX channels and only show the main channel. Remove the shortcuts playlist and increase the thumbnail size to 200. You can then drag presets from the Videowall tab over to the A channel and fill them with content. You then have a GUI where the operator can control full walls with a single tap:

Only the main channel is visible in this workspace, and the thumbnails have a maximum size. With one click or tap, the Viz Multiplay operator can now toggle complete walls with layout and content.
The Preset Content Editor
The Preset Content Editor is an editor for filling video wall Presets with predefined content, which are then referred to as Filled Presets.
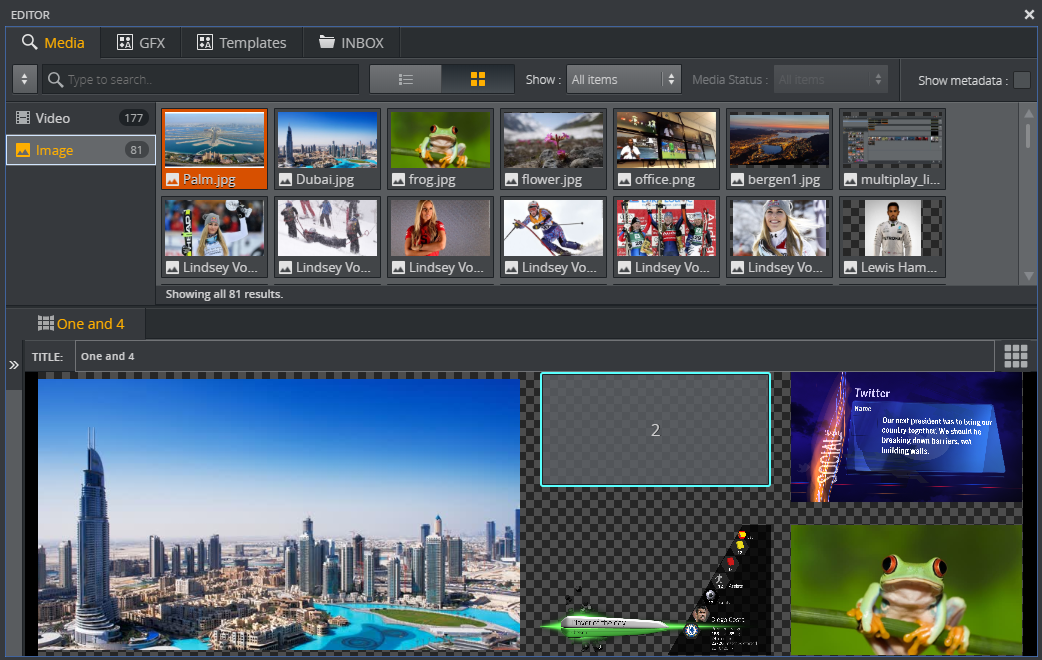
In the editor, search for content (videos, graphics, images) and drag it into a preset. Depending on your configuration, content is contained in various tabs, including the Templates, GFX and Media tabs etc. When the filled preset is ready, drag it either into the group for the main channel of the video wall, or to the shortcuts bar in the show.
-
Right-click a preset in the Using the Shortcuts Bar or in the main channel of the video wall.
-
Click Edit Content to open the Preset Content Editor:

In this editor, you can create a video wall layout with content filled into the GFX areas:
-
From the top tab bar, select a source for the content. This can be Media assets, graphics or content from an inbox.
-
Drag selected content into the GFX areas.
-
Click the Play button
 on the thumbnails to edit, or alternatively double-click content or right-click and select Edit.
 -
Click the View Mode button
 to switch between actual video wall layout and all GFX channels visible.
 -
Images that are dragged into an output channel, will automatically be cropped to fill the entire output area. The image is centered either vertically or horizontally, so it may be required to enter the image crop editor and adjust the auto cropping.