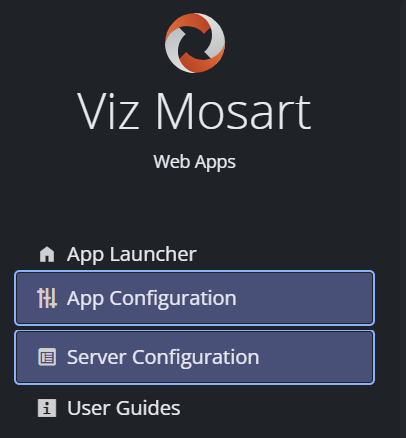
The Configuration Tool enables rapid setup and management of all your the Mosart Web Applications.
If your setup is already configured, use App Launcher for NRCS Plug, Timing Display, Rundown Viewer and Showmaker.
However, on first run, you must perform all necessary one-time setups for all the Mosart Web Apps from two menus:
App Configuration
Most settings here are needed when you
Use the NRCS Plugin or Showmaker (Early Access) for the first time.
Installed the Mosart Web Apps bundle on a separate server to the Viz Mosart server.
NRCS Plugin
To configure the NRCS Plugin
Perform the Getting Started procedure.
Select App Configuration and click NRCS Plugin.
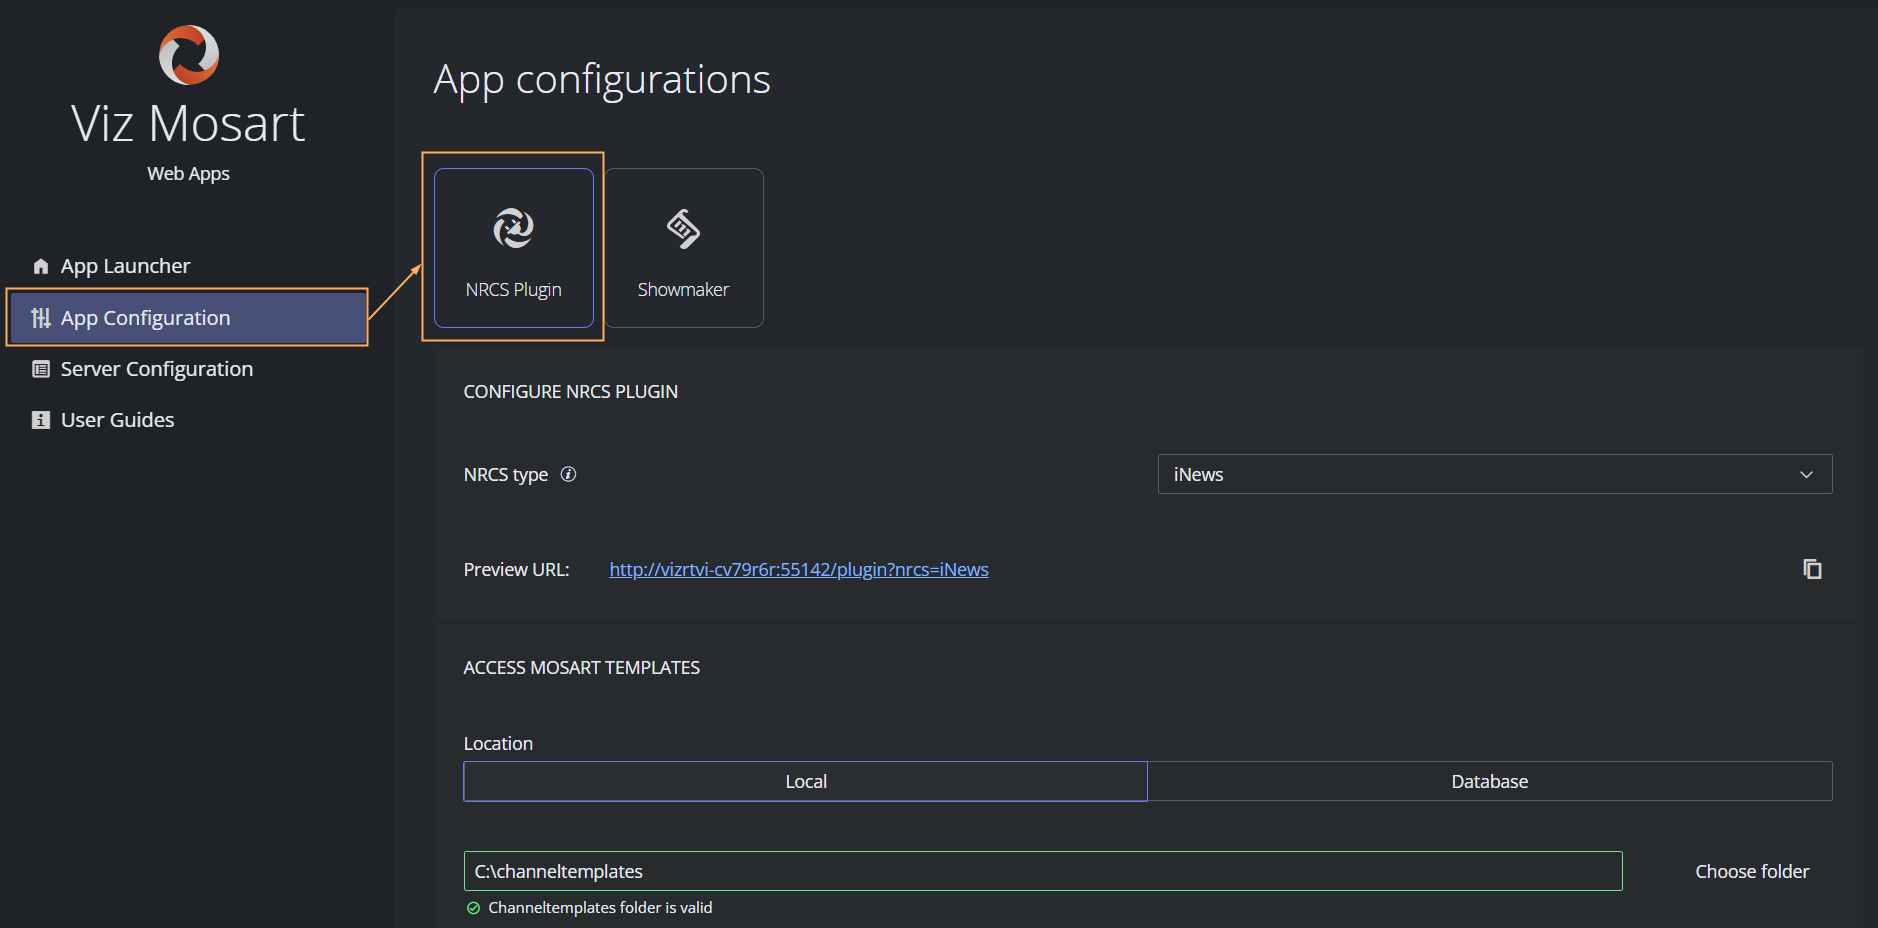
From the NRCS type drop-down menu, select your newsroom system type.
(If iNEWS is selected NRCS type, ignore this step)
Enter Mos ID.
This is a mandatory field if you select NRCS type ENPS, Octopus or Other.To find your Mos ID
In the Manus Administrator console, type settings.
For more details, see the Viz Mosart Administrator Guide , section Manus Administrator > Settings Editor MOS > NRCS Configuration.
Back in the Web Apps Configuration Tool App Configuration page for the NRCS Plugin, in section ACCESS MOSART TEMPLATES, specify the location of your Viz Mosart templates.
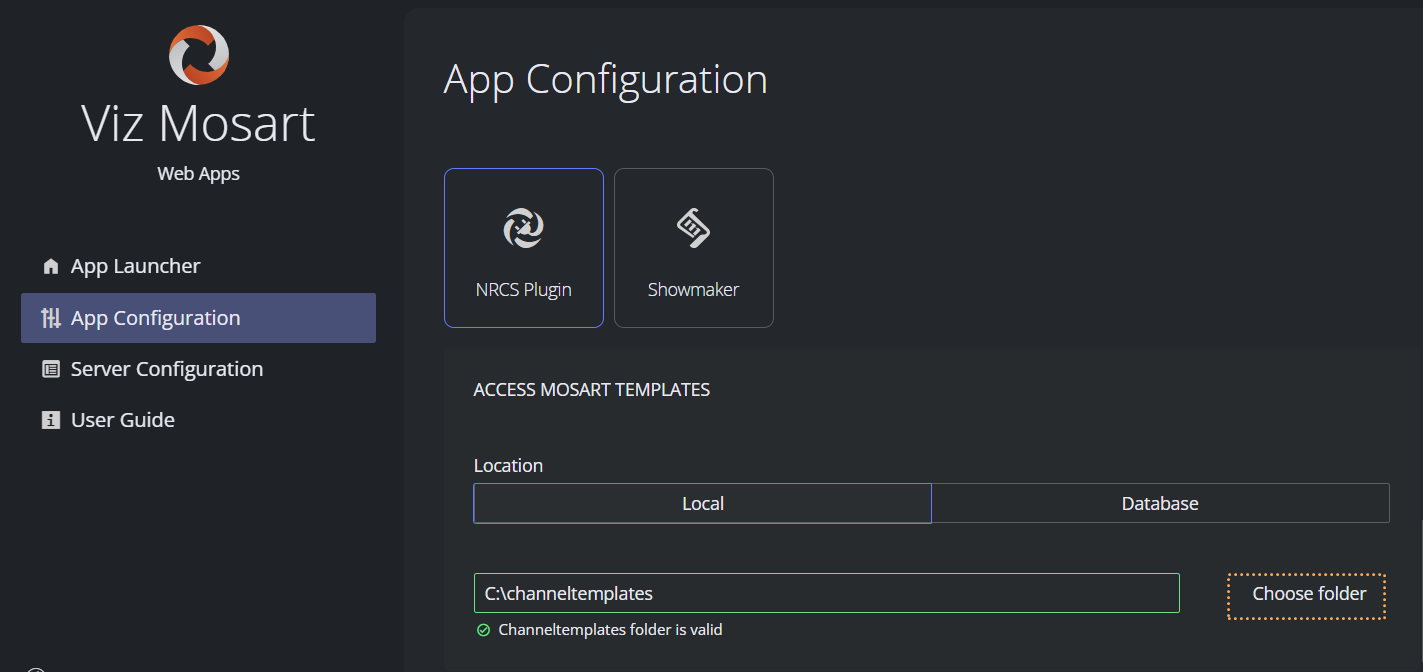
This can be eitherLocal: By default, this is a local folder C:\channeltemplates. The tool will automatically scan for three files:
channeltemplates.xml
avconfig.xml
newsroomsettings.xml
If successfully identified, a green validation message is displayed.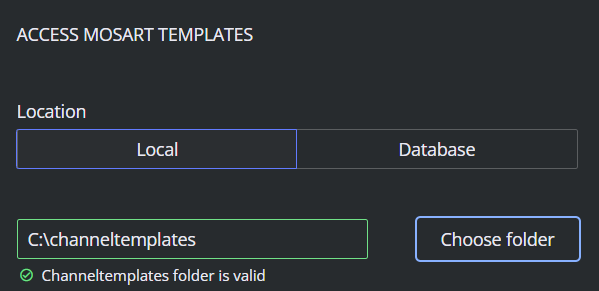
A network folder: When your template folder is on a network drive
Click Choose folder and navigate to the target folder.
Ensure the network folder has adequate permissions.
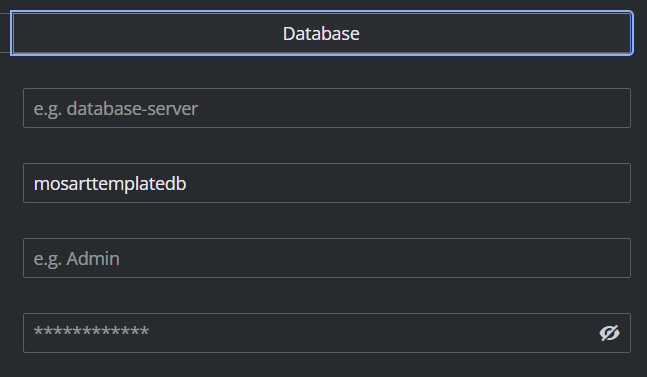
Database: If template details are stored in a database, enter host access and authentication details.
Click Save.
Note: To complete the NRCS Plugin setup, you will also need to visit the Server Configuration page, presented below.
Showmaker (Early Access)
Showmaker can run standalone, as a rundown (running order) creation tool.
If you wish to use Showmaker with Viz Mosart, follow these instructions, that depend on whether Showmaker is installed on the Viz Mosart server or another machine.
MOS COMMUNICATION SETTINGS
The following configurable properties define the communication.
Property | Description |
|---|---|
NRCS ID | This is the Newsroom System ID for Showmaker. Set this ID on any MOS-enabled device to establish communication with Showmaker. For Viz Mosart, this value must be set in Viz Mosart Manus Admin. Default: SHOWMAKER.MOS. |
MOS Device ID | This is the ID of a MOS device configured to communicate with Showmaker. For Viz Mosart, copy this value from Manus Admin settings > MOS section . Default: MOSART.MOS.SHOWMAKER. |
MOS Device URL | The URL for connecting to a MOS device. |
To establish communication between a MOS device and Showmaker
There are two alternative, depending on your network type.
Showmaker is installed on the same server as Viz Mosart.
Showmaker is installed on separate server to Viz Mosart.
Showmaker is installed on the same server as Viz Mosart
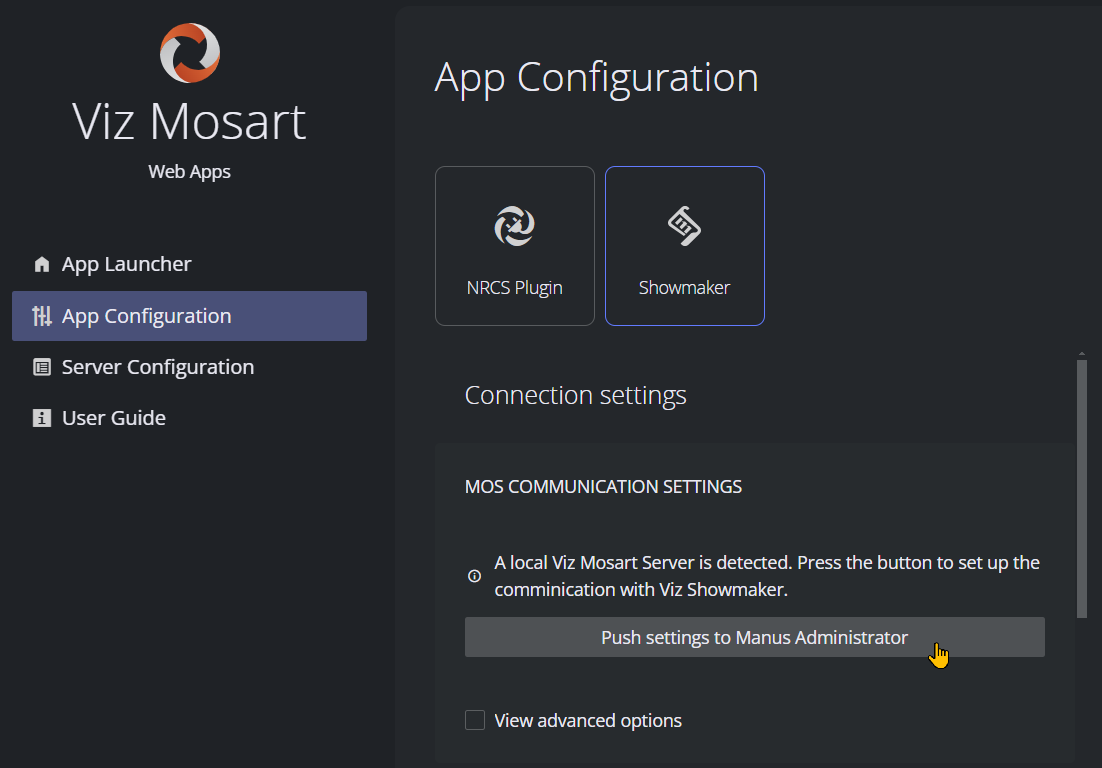
If you are running Showmaker on the same server as the Viz Mosart Server, the Configuration Tool provides a way to automatically configure Viz Mosart to establish communication with Showmaker.
From the App Configuration page, under Showmaker, tick View advanced options and review settings. If necessary, adjust the default values as described in the table above.
In the same App Configuration menu for Showmaker, click Push Settings to Manus Administrator.
A warning message reminds that Manus Administrator shall not be running at this point.
Ensure Manus Admin is closed before continuing.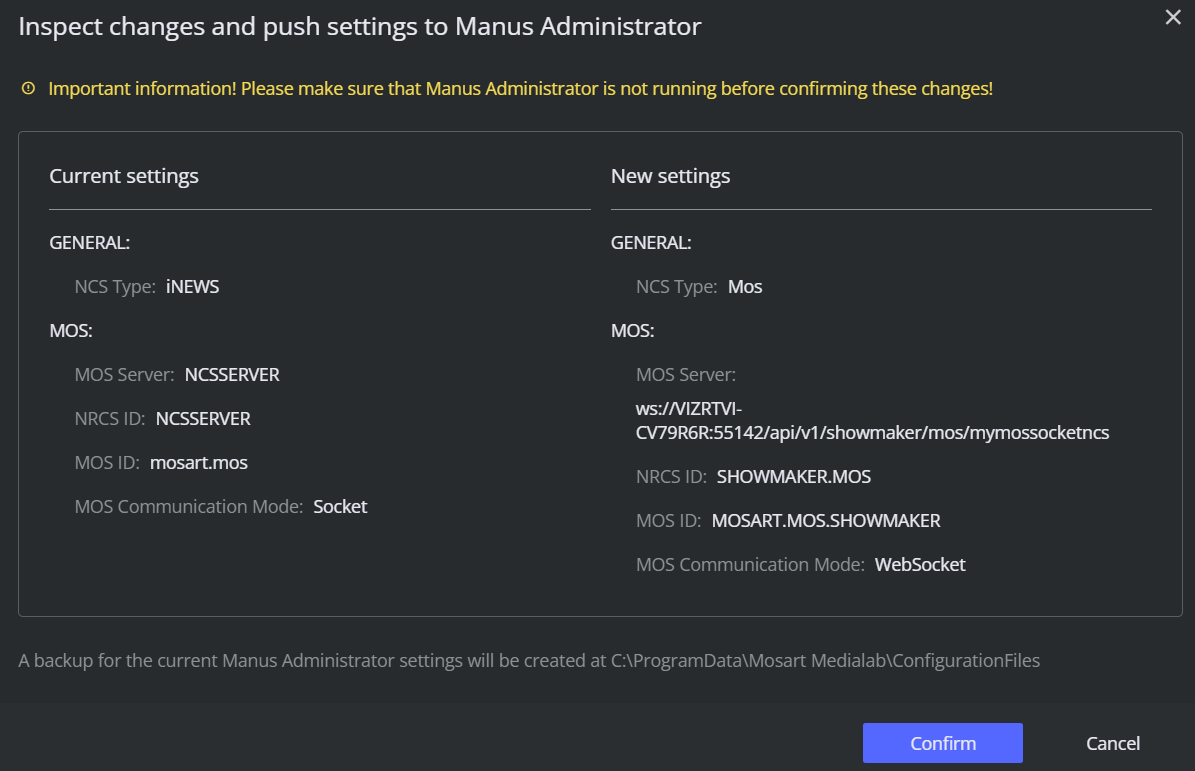
To complete the action, click Confirm.
Showmaker is installed on separate server than Viz Mosart
If you are running Showmaker on another server than the Viz Mosart server, Viz Mosart must be manually setup to connect to Showmaker.
Review the advanced options and, if necessary, adjust the default values as described above.
In the App Configuration menu for Showmaker, click View Settings for Manus Administrator.
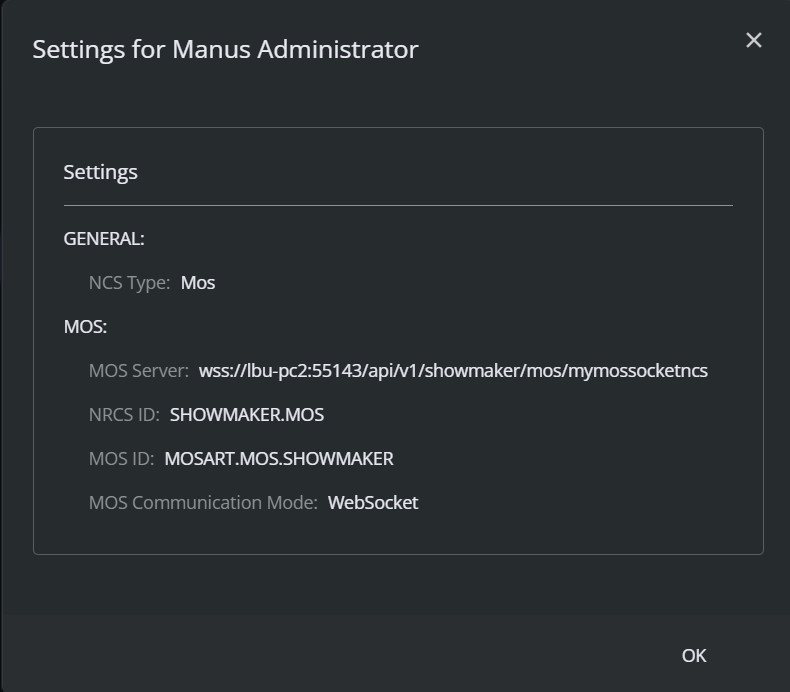
On the Viz Mosart Server, in the Viz Mosart Manus Admin console, type settings
From the Settings menu that appears, navigate to the section MOS.
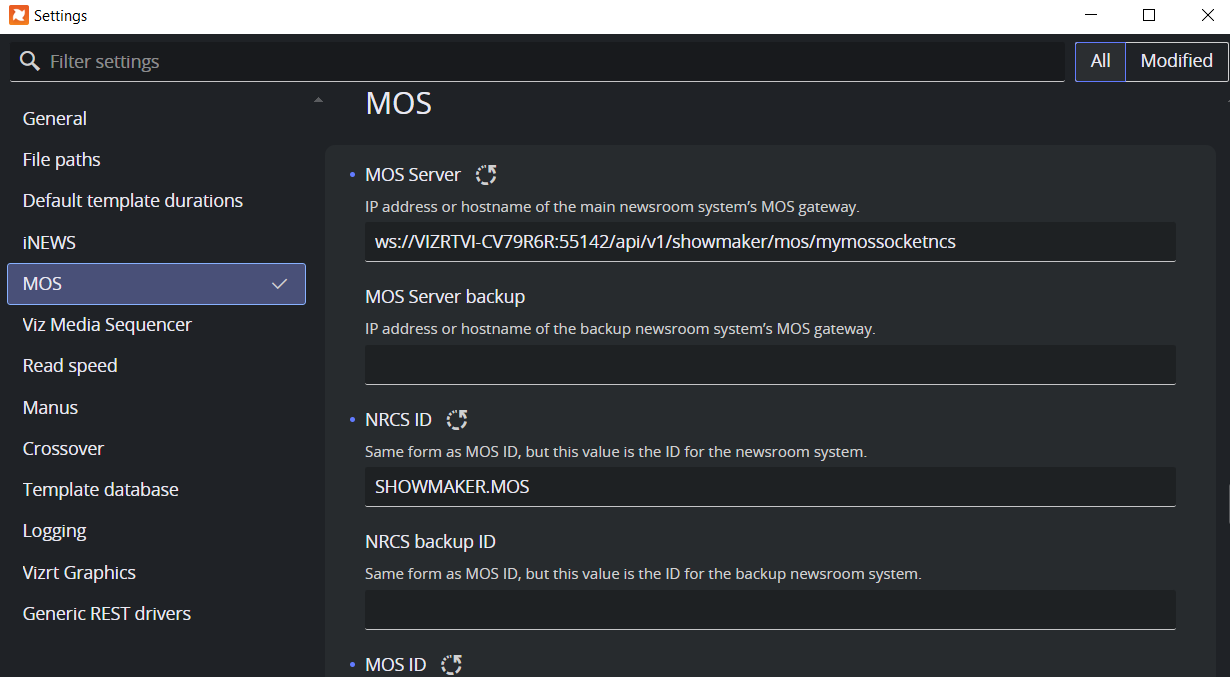
Configure the MOS settings as presented in the pop-up menu Settings for Manus Administrator (shown above) in the Web Apps Configuration Tool.
Click Save.
Assets integrations settings
If you use either Viz Pilot or Viz Flowics to provide assets for your show, you need to configure some one-time settings.
Viz Pilot
If you will run Showmaker with assets from Viz Pilot, click VIZ PILOT GRAPHICS AND ELEMENTS.
By following the on-screen information (
 icon), provide values for
Application URL (where Viz Pilot Edge is running)
MOS Plugin ID.
Click Save.
Viz Flowics
If you will run Showmaker with assets from Viz Flowics, click VIZ FLOWICS GRAPHICS.
By following the on-screen information (
icon), provide values forIntegration token
Application URL (where Viz Flowics is running)
MOS Plugin ID.
Click Save.
Note: To complete the Showmaker setup, you will also need to visit the Server Configuration page, as described below.
Server Configuration
Most settings here are needed when you
Install the Mosart web Apps bundle on a separate server to the Viz Mosart server.
Move the Web Apps to a different server.
Need to define the Viz Mosart backup server.
Need to set up HTTPS across the Mosart network.
Mosart Web Apps communicates through a proxy server that must be configured.
You can choose to use the onboard proxy bundled with Viz Mosart or an external proxy.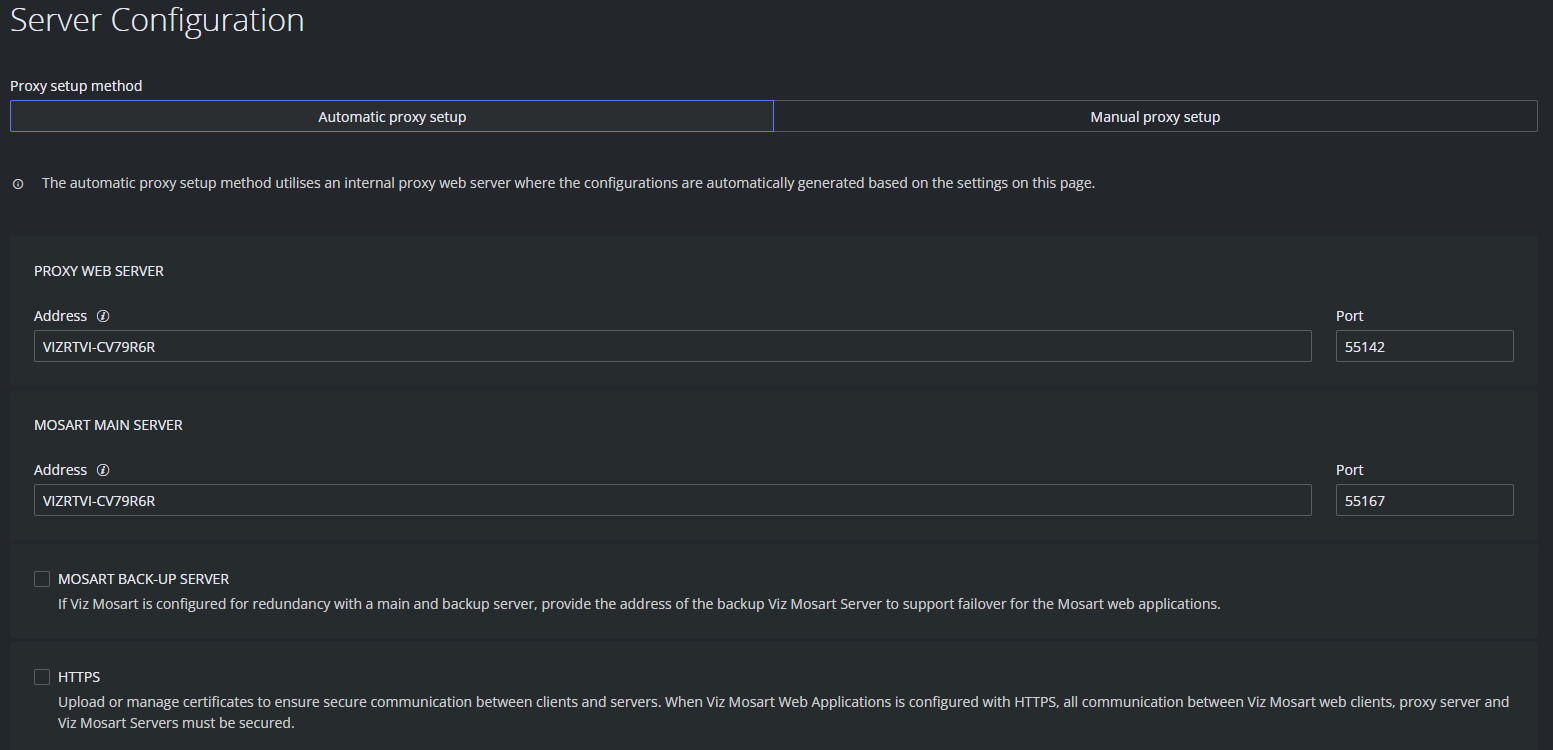
Click either
Automatic proxy setup - to use the onboard proxy server (Caddy v2).
orManual proxy setup - to use your own proxy server.
Automatic Proxy Setup
To set up the automatic proxy server
You can use the onboard proxy web server where configurations are automatically generated based on the settings displayed on the Server Configuration page.
All default settings are already pre-filled and no further action should be necessary.
However, if you need to change any values see the settings below:PROXY WEB SERVER
Address: Hostname or IP address of the machine where the Mosart Web Applications are installed. The system attempt an auto-detect. If the FQDN is required (for example, by a certificate), provide this instead.
MOSART MAIN SERVER
Address: By default, this field will contain the address of the Mosart Web Applications. Please enter the hostname, IP address, or FQDN of the main Viz Mosart server if located on another machine.
MOSART BACK-UP SERVER
When running Viz Mosart with a backup for redundancy, provide the backup server address.Select the MOSART BACK-UP SERVER check-box.
Address: Enter the hostname, IP address, or FQDN of the backup Viz Mosart server.
Click Save.
HTTPS
In this Automatic proxy setup, selecting HTTPS automatically configures both the Mosart Web Applications and the Mosart Web Proxy (Caddy). The hosts included in the certificate are validated against the web proxy server defined in the field WEB PROXY SERVER > Address. For the Mosart Web Proxy, the configured private key is used to automatically generate an unencrypted PEM format required by Caddy, which is saved in C:\ProgramData\Mosart Medialab\Mosart Web Apps.
Note: If the Mosart Web Proxy and the Mosart Web Applications are configured with HTTPS, you must also configure HTTPS for the Mosart servers (main and backup, if applicable). See Enabling Updates from the Mosart Server over HTTPS.
Manual Proxy Setup
You can use an external proxy server, but it must be manually configured.
If the external proxy server is configured with HTTPS, you must also set up HTTPS for the Viz Mosart Web Applications and Mosart servers.
Tip: You can examine the Caddy file generated when Automatic proxy setup is selected to understand how to set up an external proxy. This Caddy file resides at C:\ProgramData\Mosart Medialab\Mosart Web Apps.
To set up a proxy server manually
From the Server Configuration page, select Manual proxy setup.
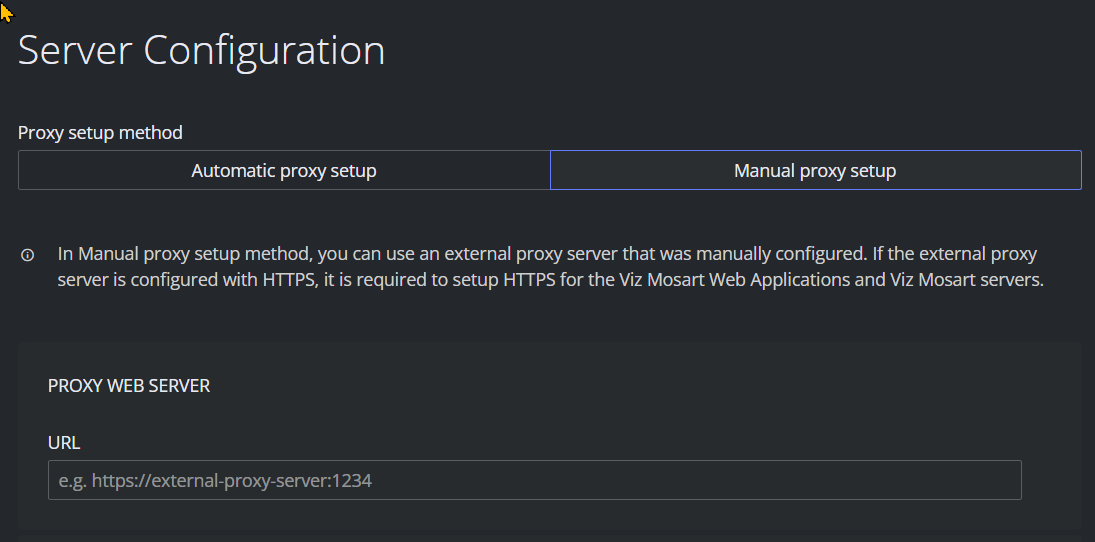
Under section PROXY WEB SERVER in field URL, enter the URL address to the external proxy server. This must be a valid web URL starting with http or https.
HTTPS
In Manual proxy setup, the certificate is only for the Mosart web server. The hosts included in the certificate are validated against the Mosart web server address field (under the HTTPS section).
If you are using HTTPS, continue with steps 3 to 5 below.Select the HTTPS check-box and follow the onscreen guidelines '
'.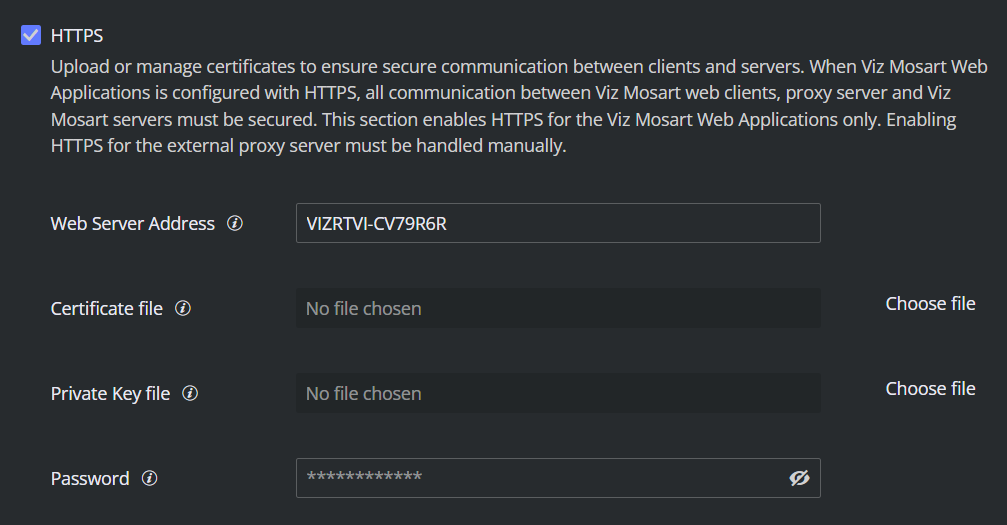
Web Server Address: The IP or the hostname of the Viz Mosart web server. The system attempt an auto-detect. If the FQDN is required (for example, by a certificate), provide this instead.
Certificate file: The certificate in encrypted PEM format. If FQDN is specified in the certificate file, the Mosart Web server address must also be a FQDN.
Click Save.
Enabling Updates from the Mosart Server over HTTPS
If using HTTPS with the NRCS Plugin, Rundown Viewer or Timing Display, you need to configure the Mosart Remote Dispatcher Service to allow continuous rundown updates between the Viz Mosart server and the web applications.
To turn HTTPS on in Mosart Remote Dispatcher Service
On the Viz Mosart server machine, copy the file C:\Program Files (x86)\Mosart Medialab\Mosart Server\ConfigurationFiles\RemoteDispatcherServiceConfig.xml" to "C:\ProgramData\Mosart Medialab\ConfigurationFiles.
Fill in the following fields:
SignalRUseHttps: true
SignalRCertificatePath: <Certificate File for Viz Mosart server>
SignalRCertificateKeyPath: <Private Key file for Viz Mosart server>
SignalRCertificatePassword: <Password as configured for the private key>

Restart the Remote Control Service.
HTTPS Usage Notes
When Mosart Web Applications are configured with HTTPS, all communication between clients, proxy servers, and content servers must be secured. This includes the following components:
Mosart web clients (Rundown Viewer, NRCS Plugin, Timing Display etc.).
Mosart web server (Mosart Web Applications service).
Proxy server (internal, i.e. Mosart Web Proxy service, or external).
Mosart Server (Mosart Remote Control Service).
Certificate Requirements
Type: X.509 certificates.
Format: PEM-encoded certificates and private keys.
For the Mosart Web Proxy (Caddy), the key must be in unencrypted PEM format, which is automatically generated by Mosart from the provided encrypted key file.
Encryption: Private keys must be encrypted and provided with the corresponding password. You can verify if the key is encrypted by opening it in an editor and checking that it starts with "-----BEGIN ENCRYPTED PRIVATE KEY-----" and ends with similar text.
Host coverage: The certificate must include the host where the Mosart Web Applications are installed. The hosts provided in the Mosart Web Config tool will be validated against the certificate (case sensitive). If the hosts in the certificate are the Fully Qualified Domain Name (FQDN), then the hosts provided in the Mosart Web Config Tool must be the FQDN as well. If the same certificate and key files are used across all Mosart components (Mosart Web Server, Mosart Web Proxy, Mosart Server main, Mosart Server backup), the certificate must specify all relevant hosts or their FQDNs.
Certificate Installation
Certificates must be trusted on any machine where Mosart Web Apps are used. Ensure the certificates are installed on:
Mosart Web Applications / Mosart Web Proxy.
Any Mosart Server.
Any machine running Mosart web clients.
If the certificate is not installed on a machine using a Mosart Web App, the browser will warn of insecure connection, suggesting you proceed at your own risk. However, if the Mosart Web App is integrated as a plugin within other applications (for example, into ENPS), there may be no warning, and you experience issues like a blank page.
Troubleshooting
See section Troubleshooting.